pinch.om
Think it, Pinch it, Experience it!
1. Select I’m a Guide and Register or Log in with Phone number and password.
2. Guide Profile creation requires Name, Instagram ID, Date of Birthday, Country and Phone Number.
3. At the side menu, select Activate Pin to verify and Upload your Tourism License & ID Card.
4. The app admin double-checks and verifies everything, so be accurate while adding stuff!
Verified Guides can unlock more features:
- Adding all types of Pins.
- Record trails and saving them.
- Submit Sub Pins on activated Pins and Trails.
- Can upload all their Tour Packages (PKG).
1. Tourist can Register or Login using Phone Number and Password.
2. Use category tabs as filters.
3. Search for a tour guide using their Instagram name.
4. Go to Messaging in menu, search guides and Chat directly.
5. For Packages from Guides click on Package to view Options.
6. Get Directions to all the available Pin locations.
7. For more Sub Pins from the Guide, click TAP and follow instructions.
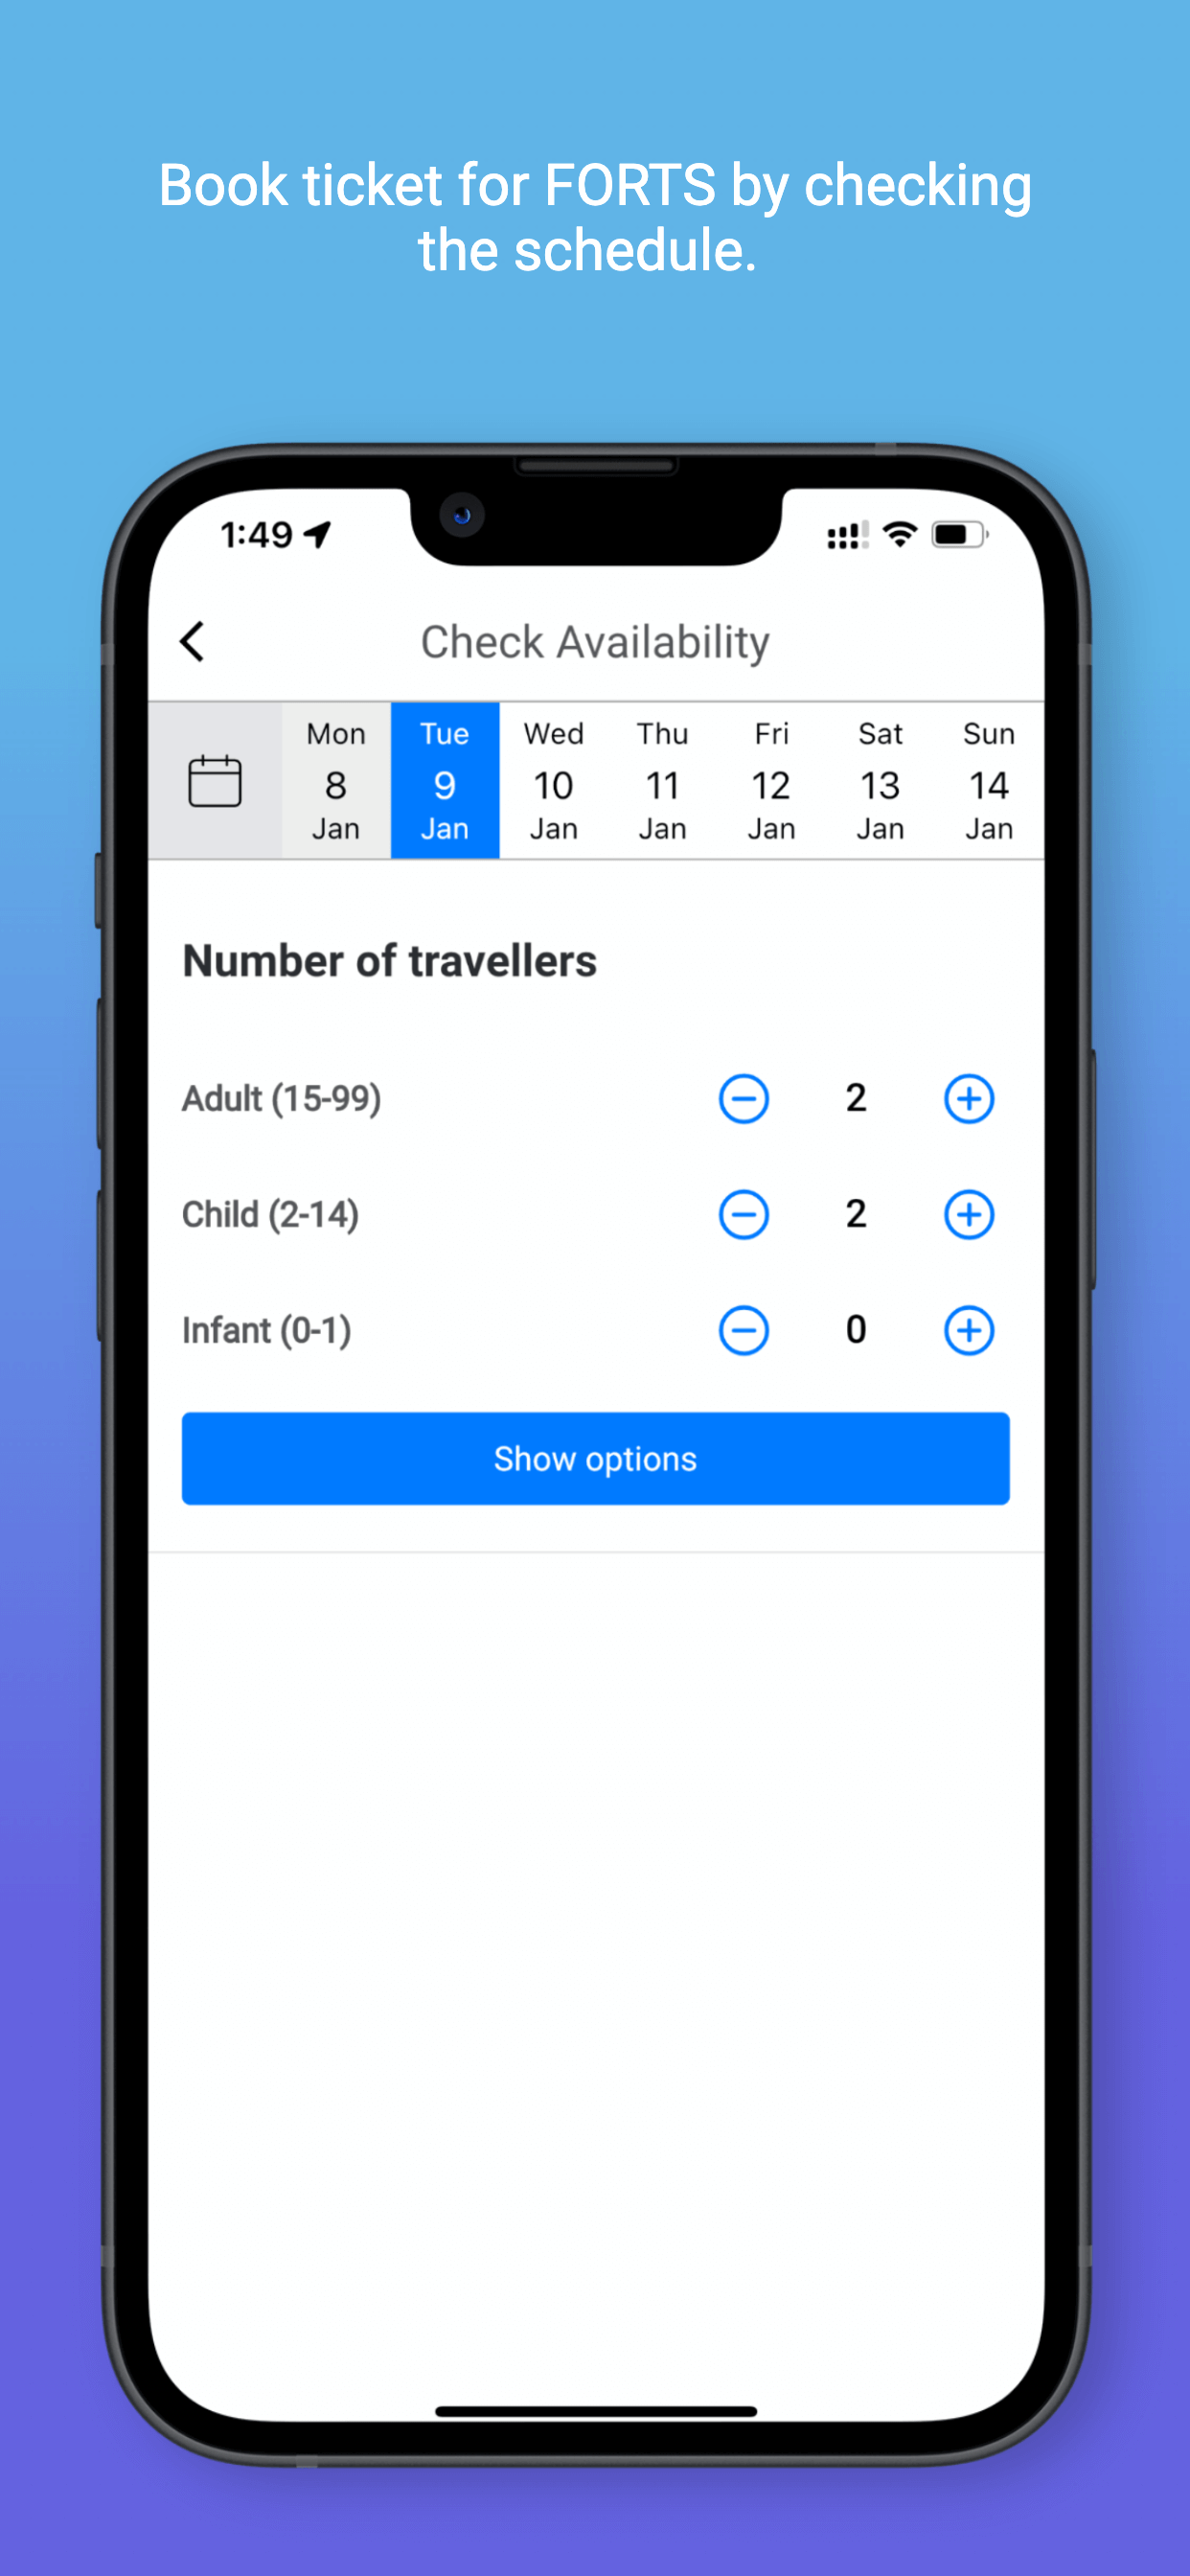
8. Book ticket for FORTS by checking the schedule.
To Upload pins, User must have another number to re-register as Tour Guide.
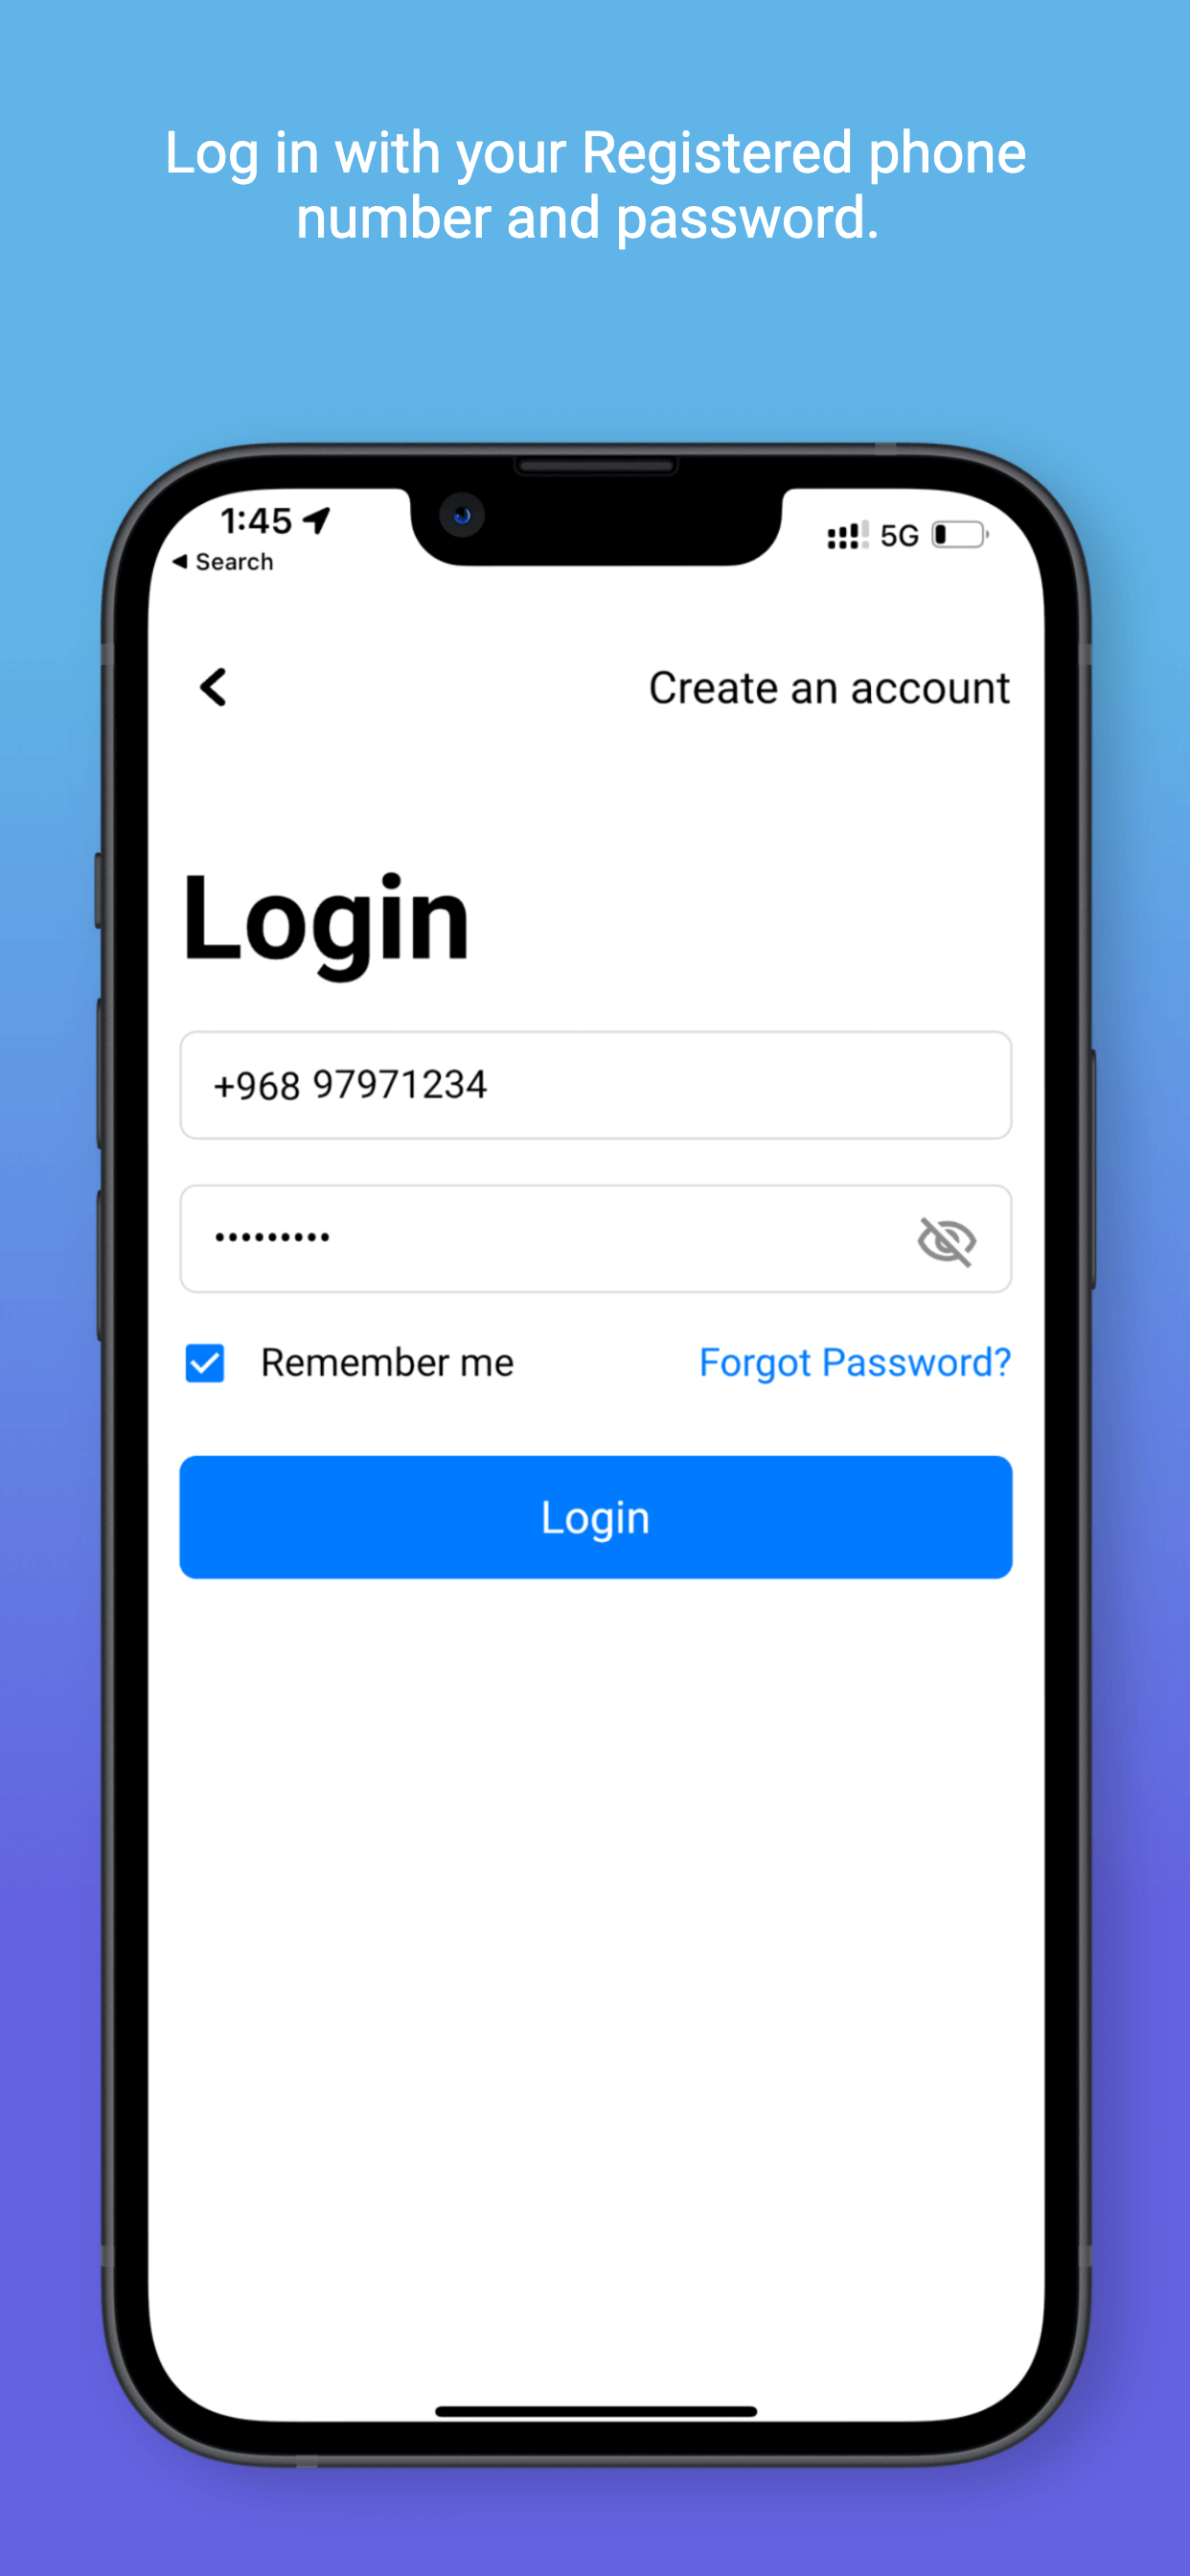
1. Log in with your Registered phone number and password.
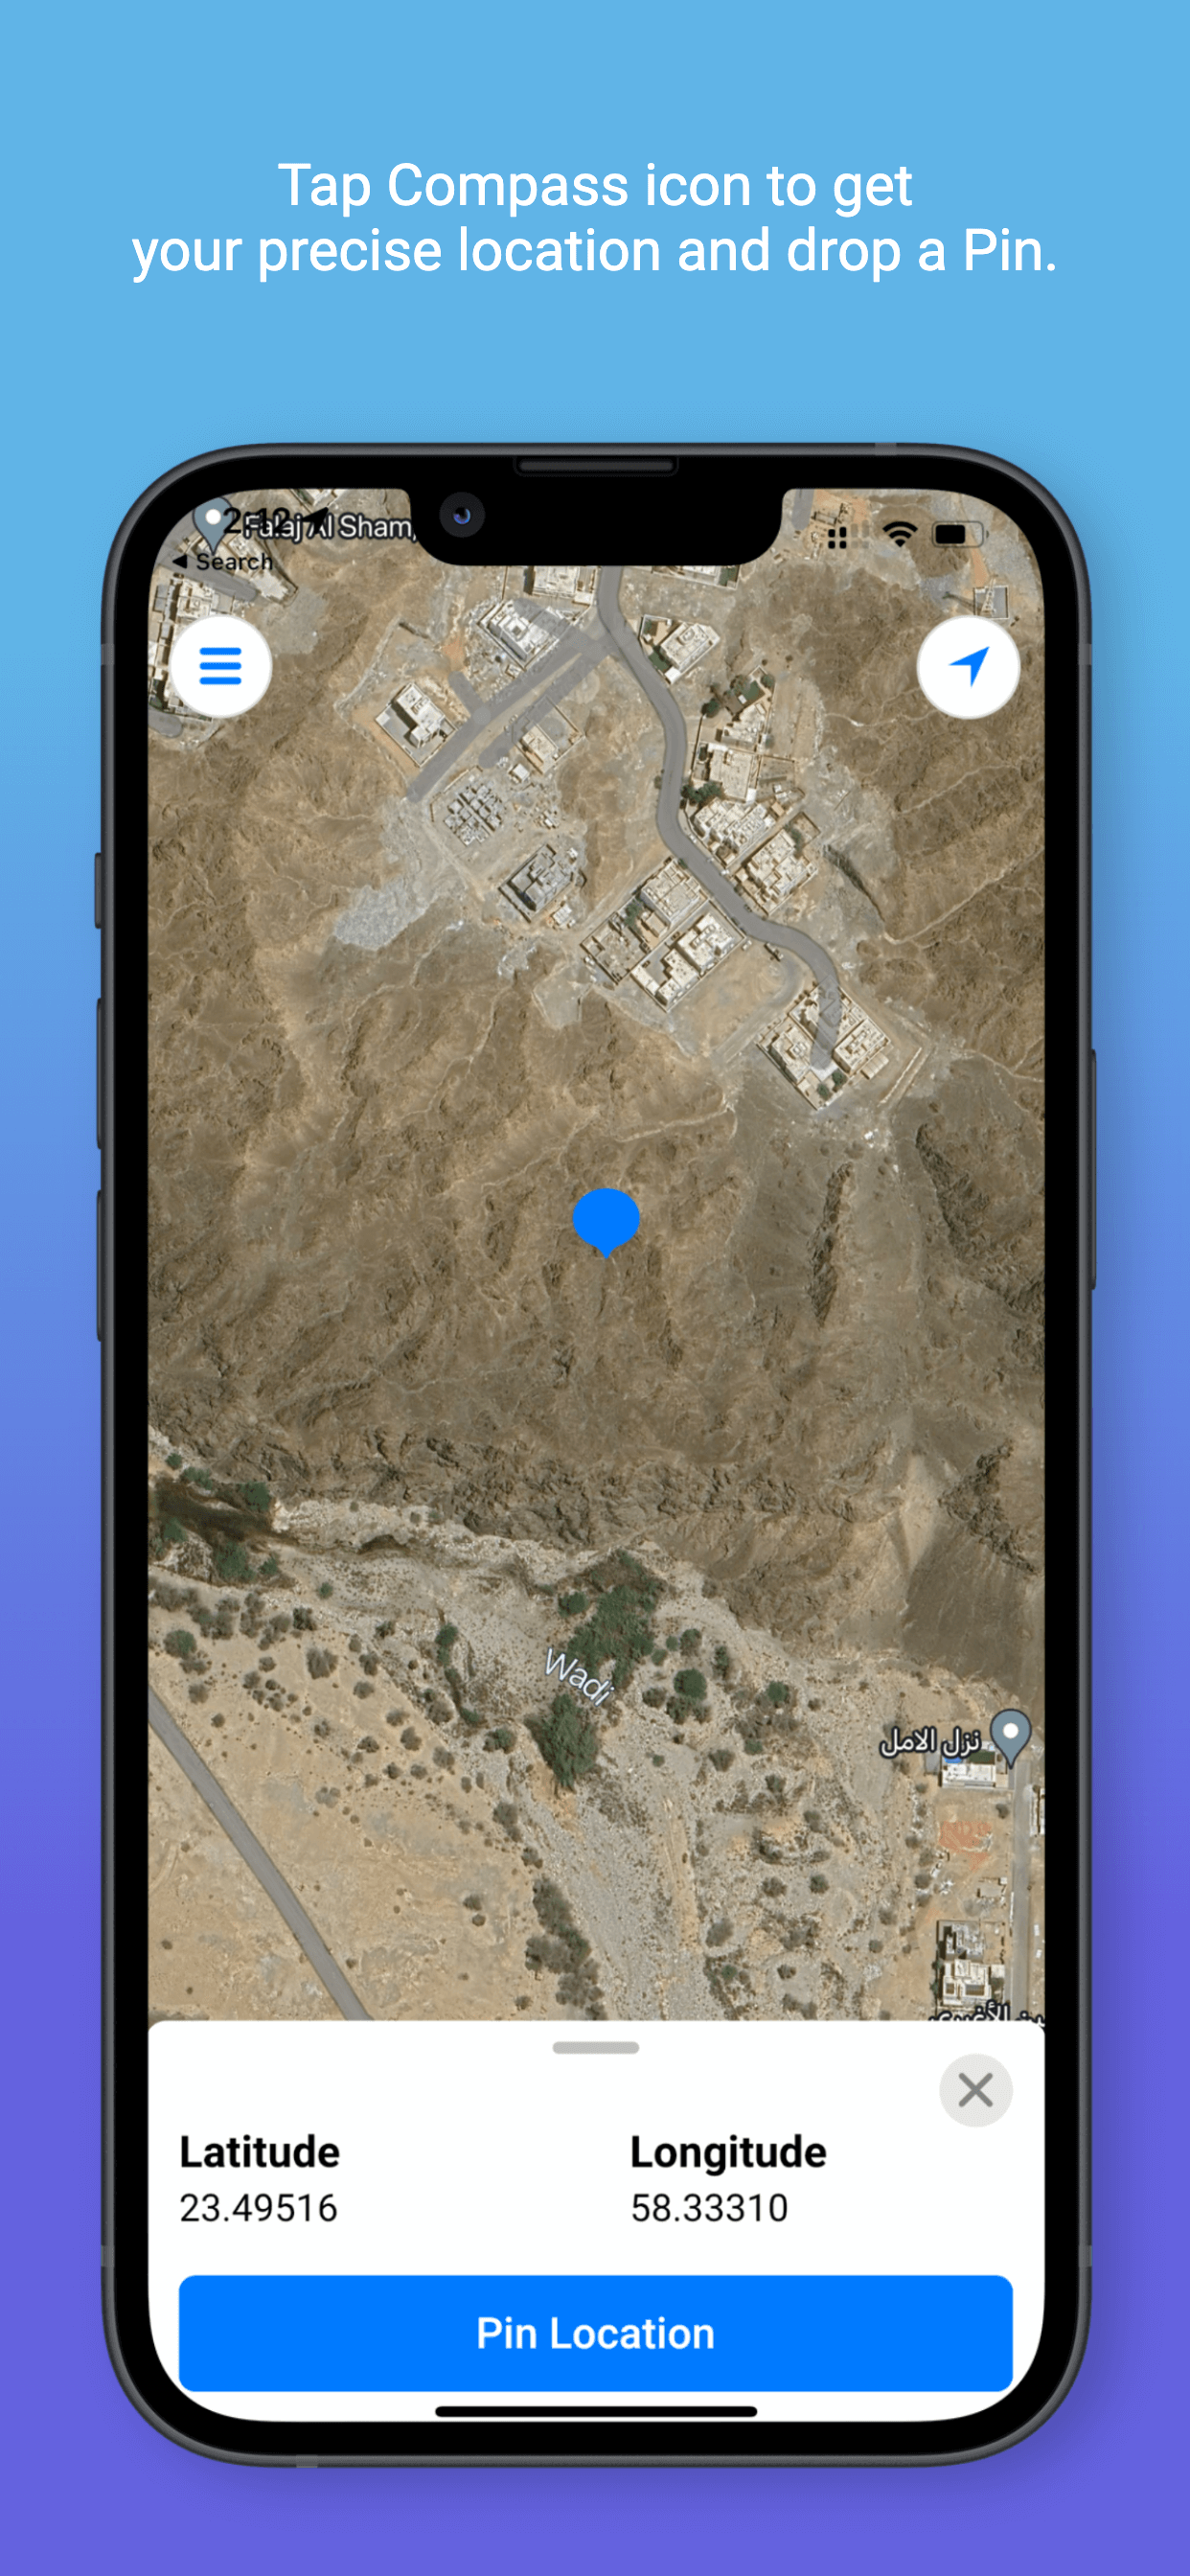
2. Tap Compass icon to get your precise location and drop a Pin.
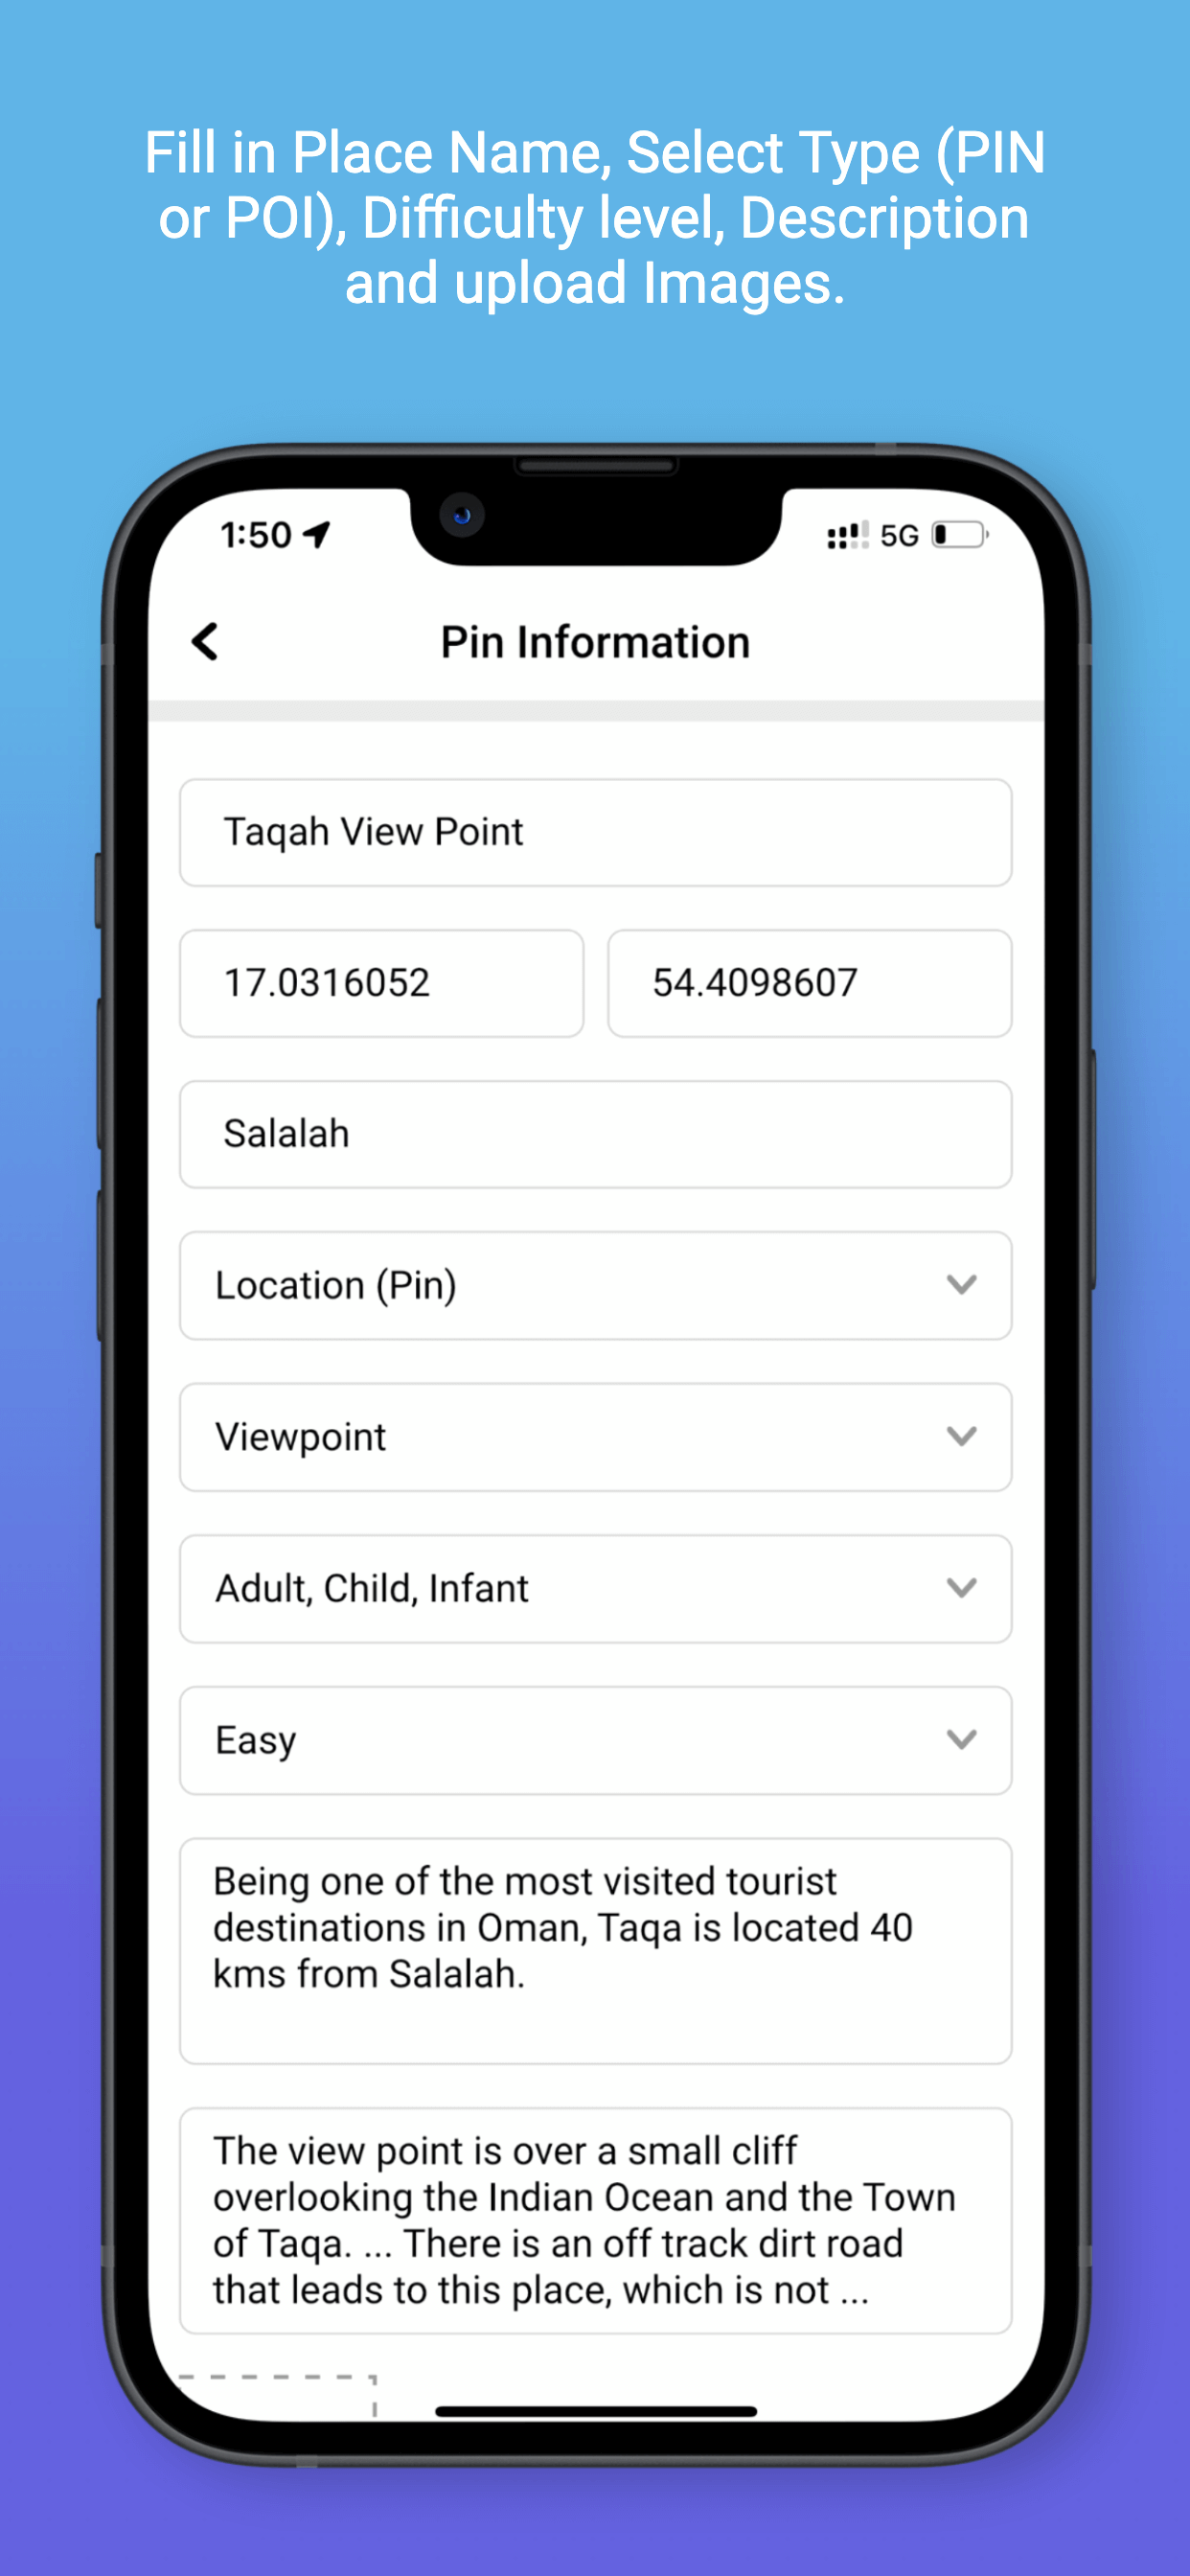
3. Fill in Place Name, Select Type (Pin or Sub Pin), Difficulty level, Description and upload Images.
4. Submit for admin approval.
You’ve to be at location to drop a pin!
- Add as many Pins as you want! Admin verification is required before Pins appear on the map.
Understanding Pin Colors:
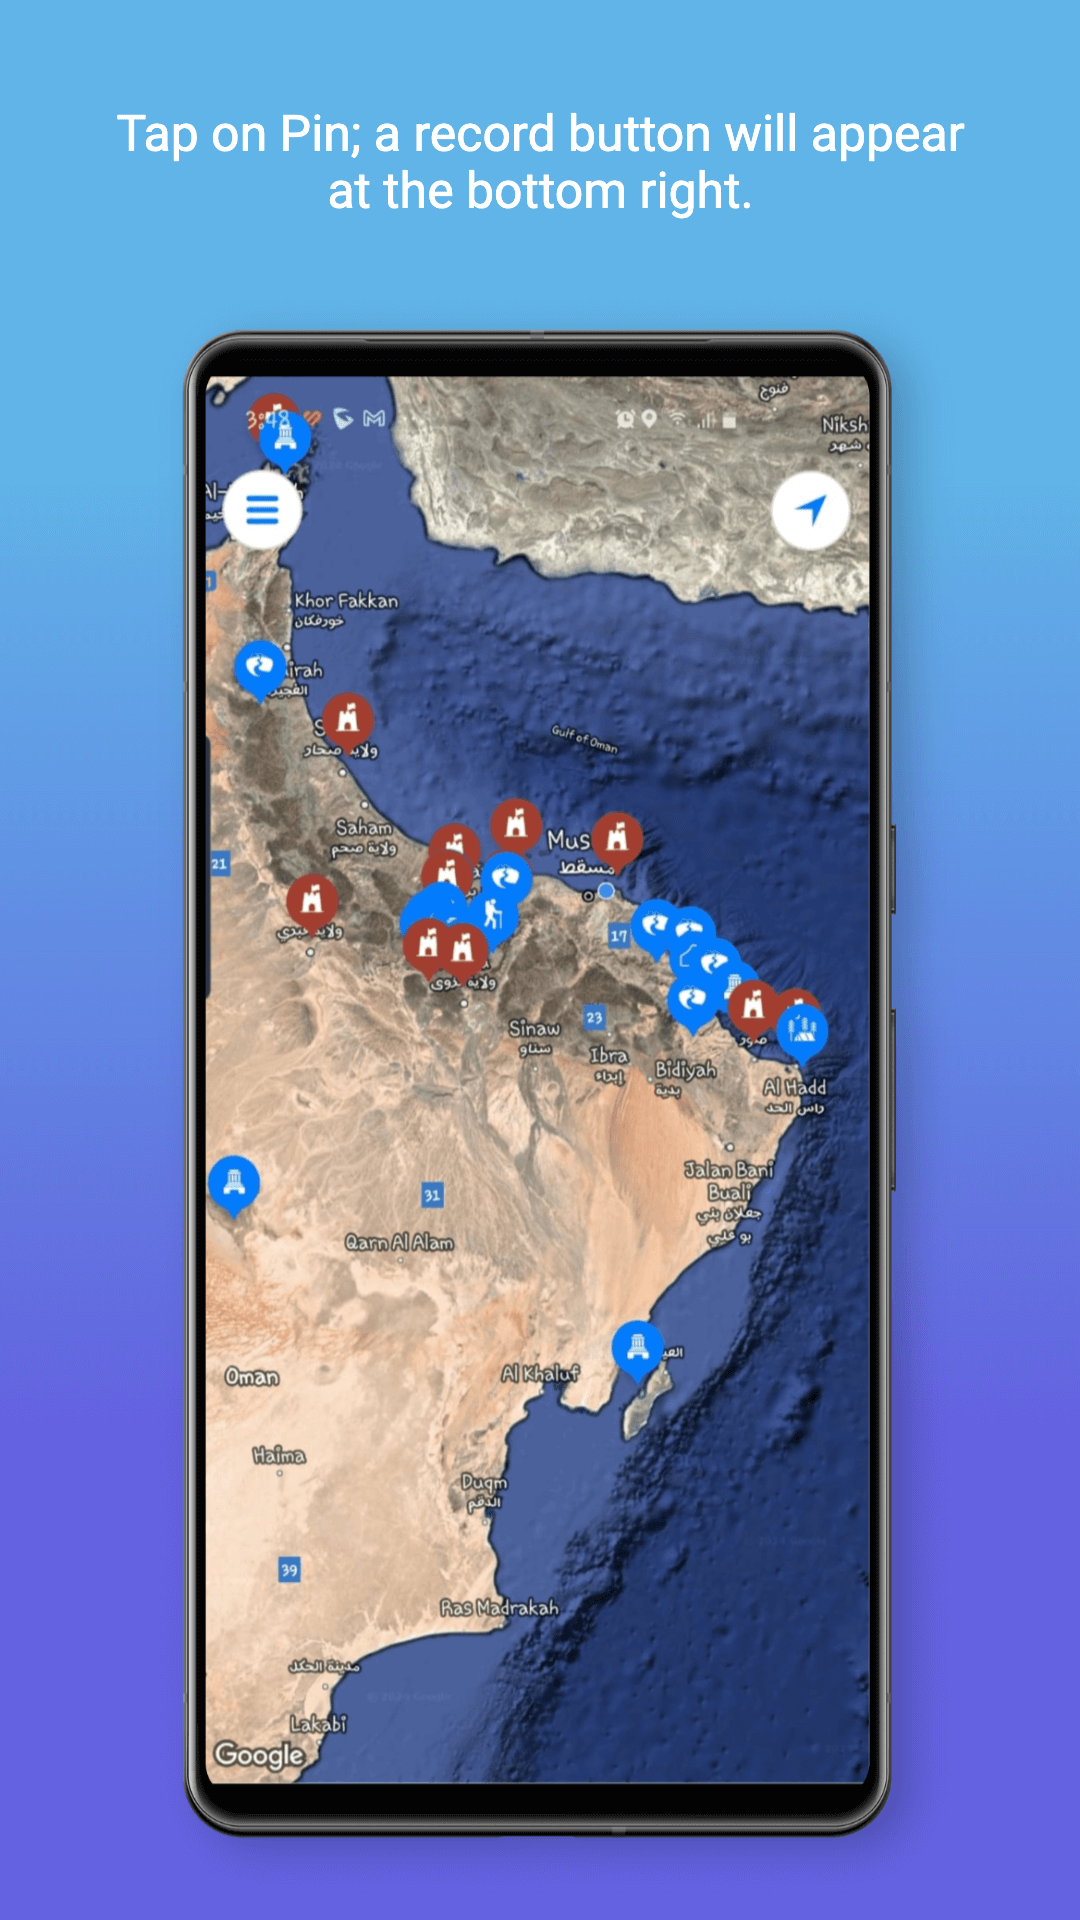
- Blue Pin: The main attractions! represented by their own icons.
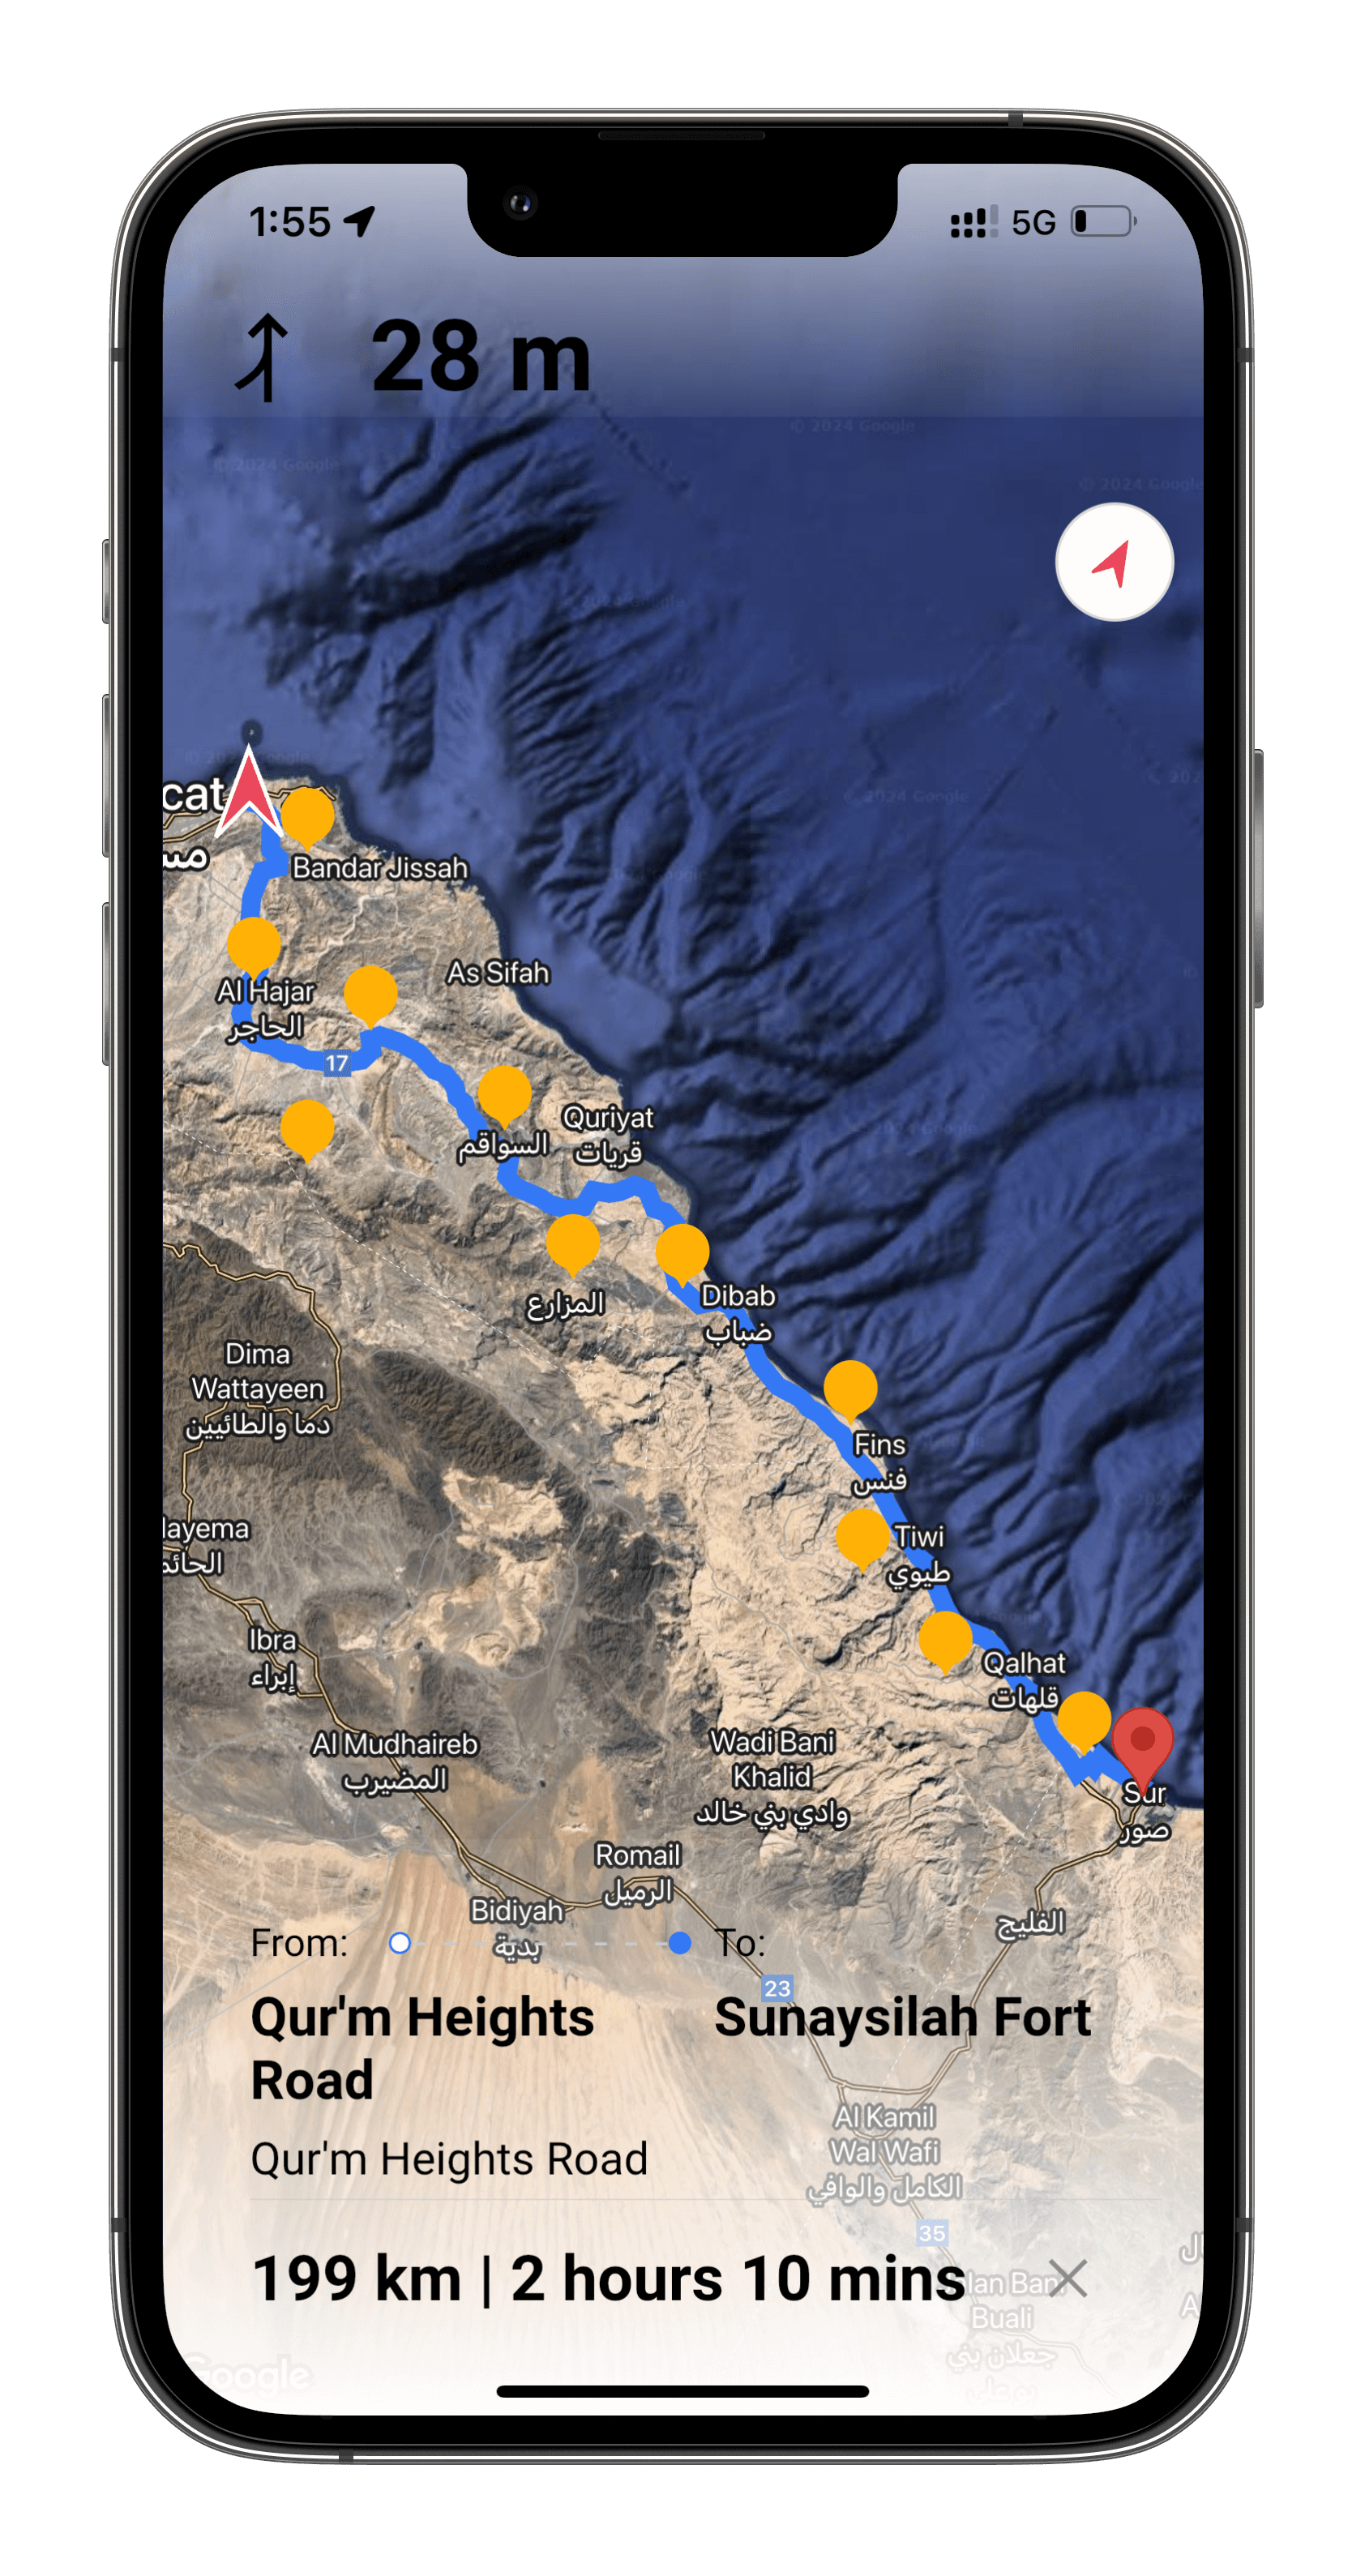
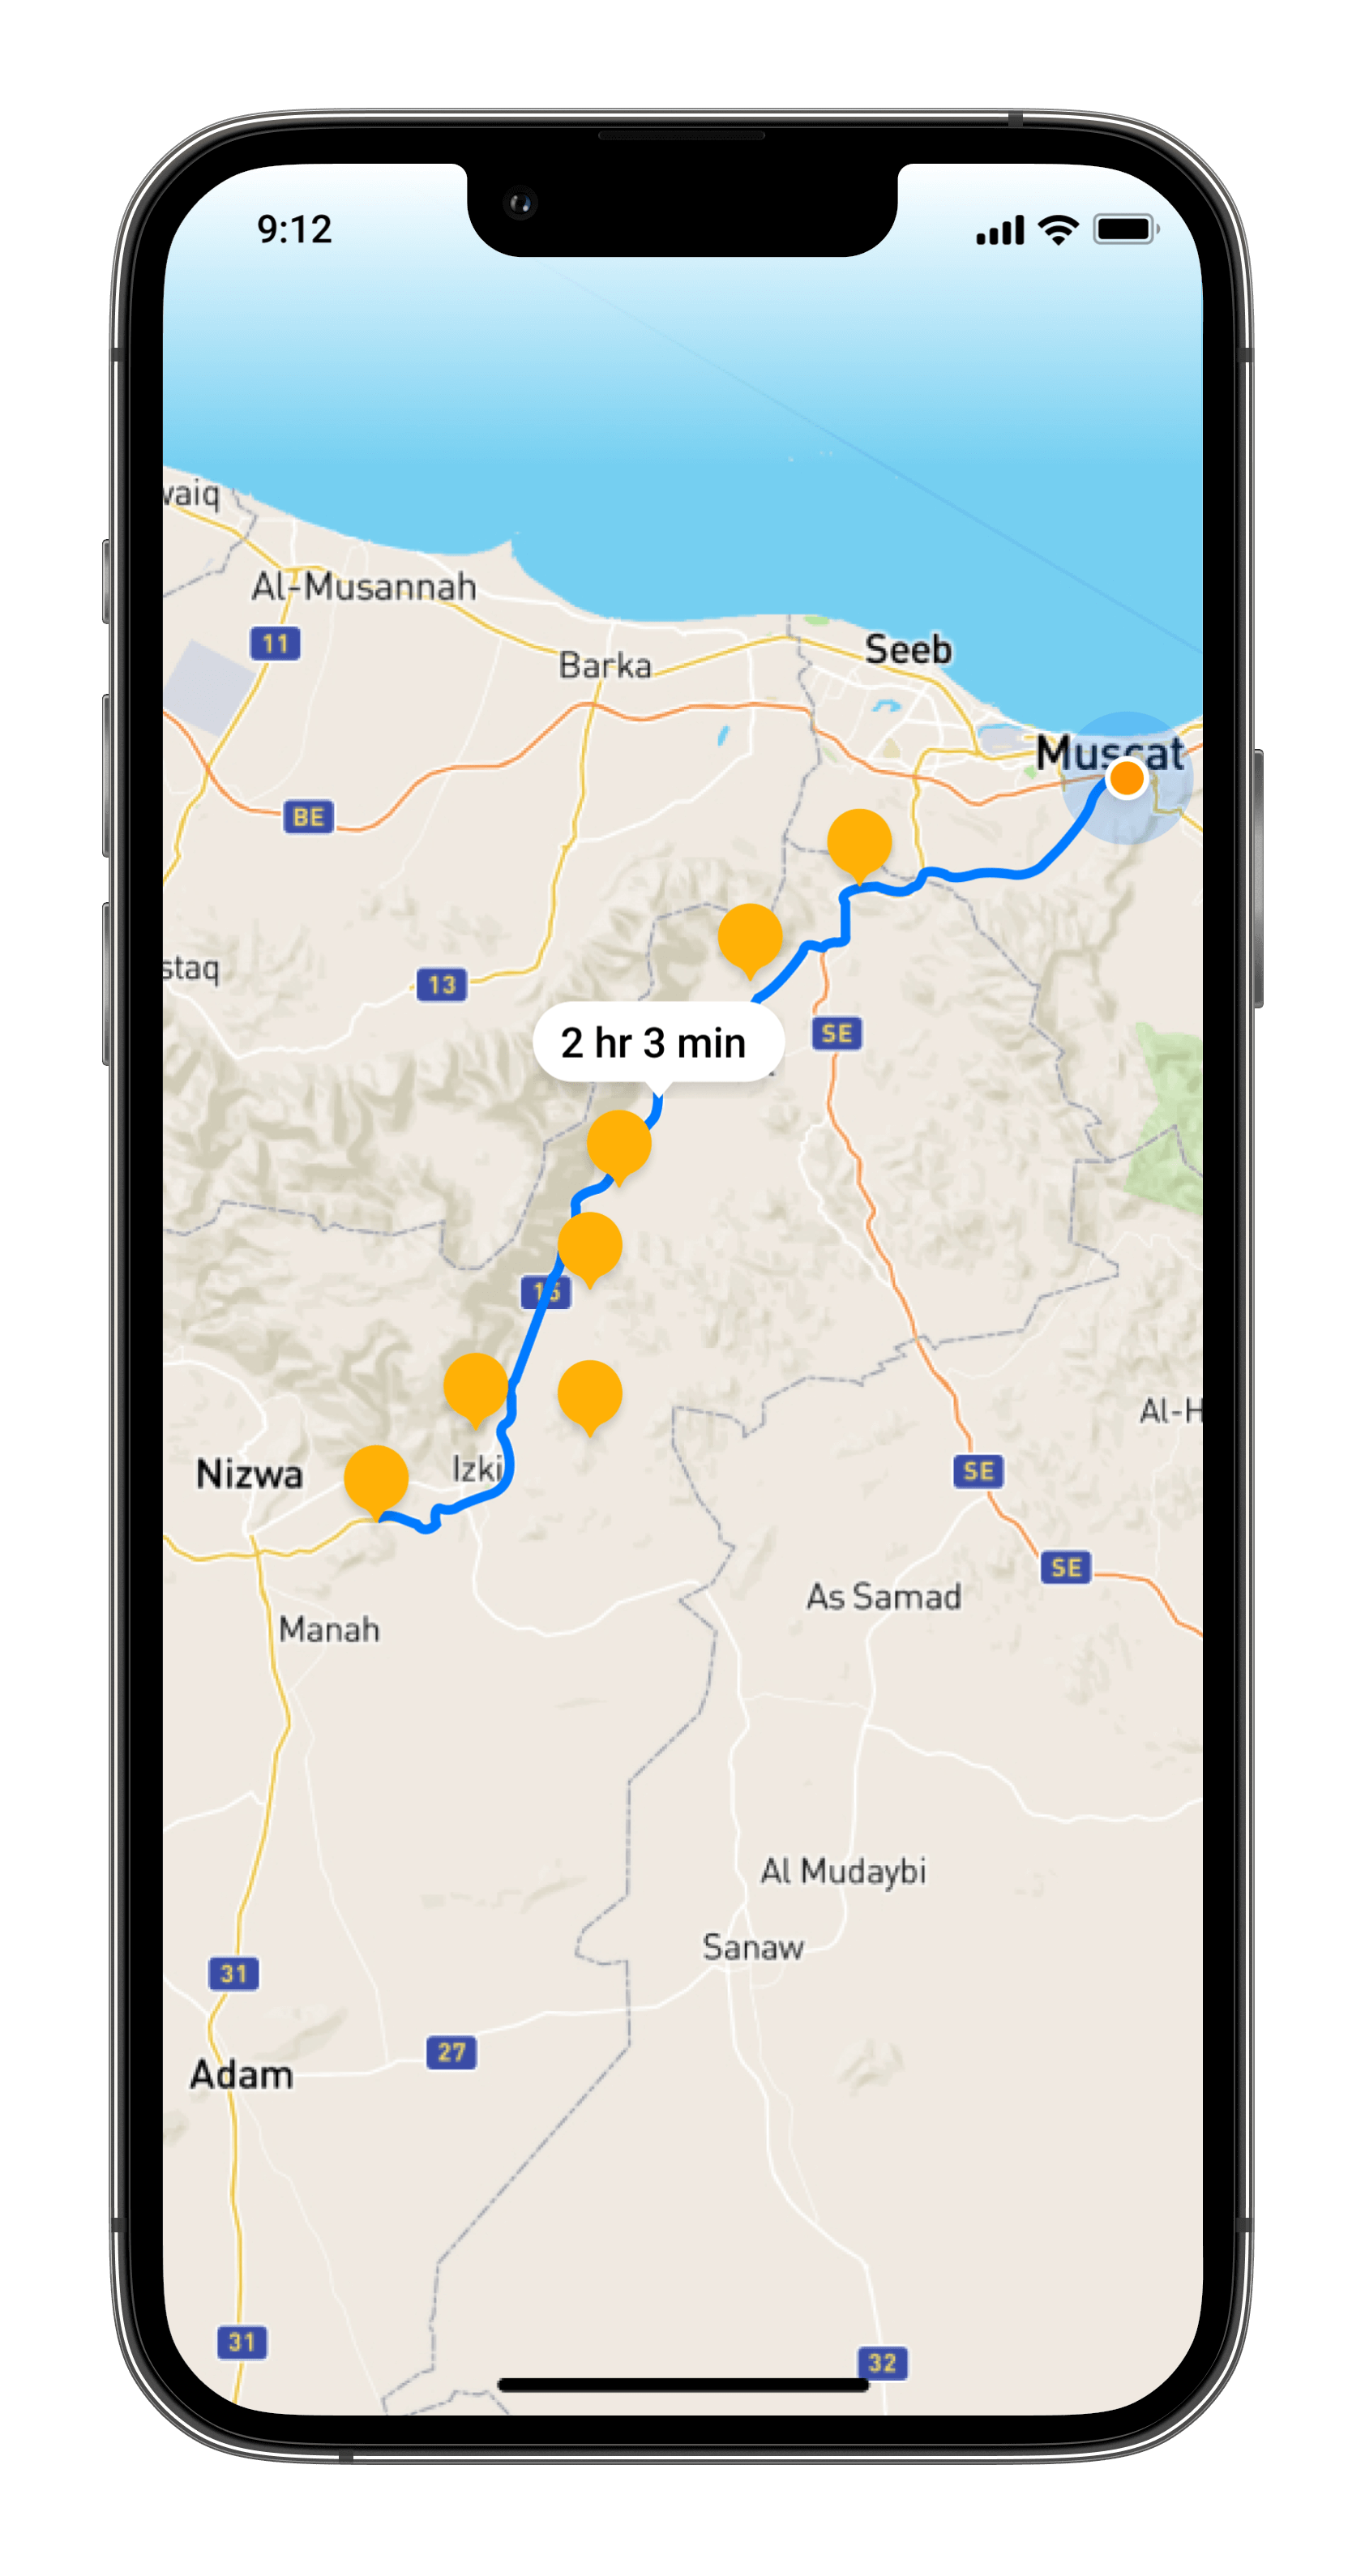
- Yellow Pin: Sub-attractions named Sub Pins for Bonus & Guide tips!
- Brown Pin: Represents forts to explore.
- Sub Pins are Points of Interest with extra details (like nearby shops, phone signal areas, or even medical facilities), difficulty level, images etc.
- Add as many Sub Pins as you want on routes to Pin or while recording a Trail.
- Submit Sub Pins on activated Pins and Trails.
- Double-check all Sub Pins are accurate before launch.
For upselling provide additional Sub Pins information to enhance activity’s potential like:
- Selection of refueling point.
- Amenities: Wood, ice, life jacket, etc.
- Mosques, restrooms, food, medical etc.
- Danger/Hazard.
- Weather conditions.
- Mobile network coverage, etc.
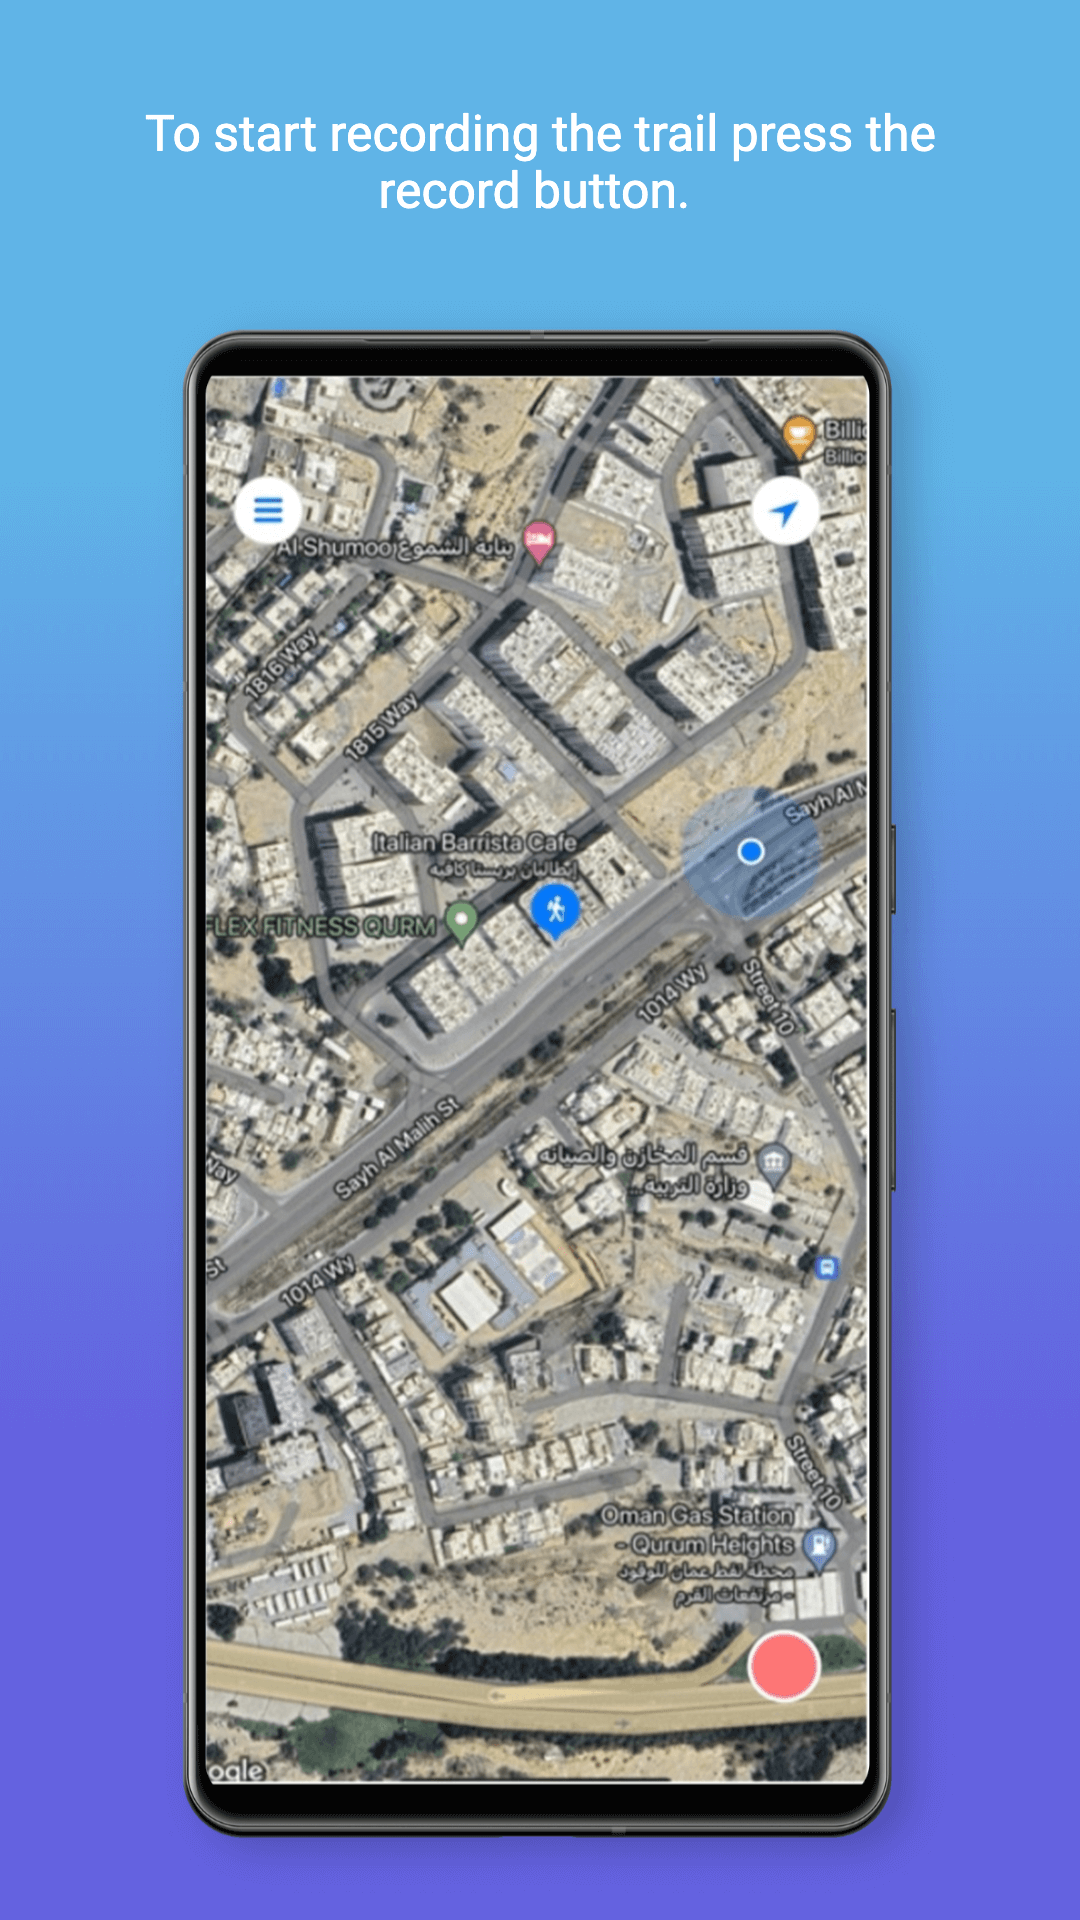
1. Tap on Pin; a record button will appear at the bottom right.
2. To start recording the trail press the record button.
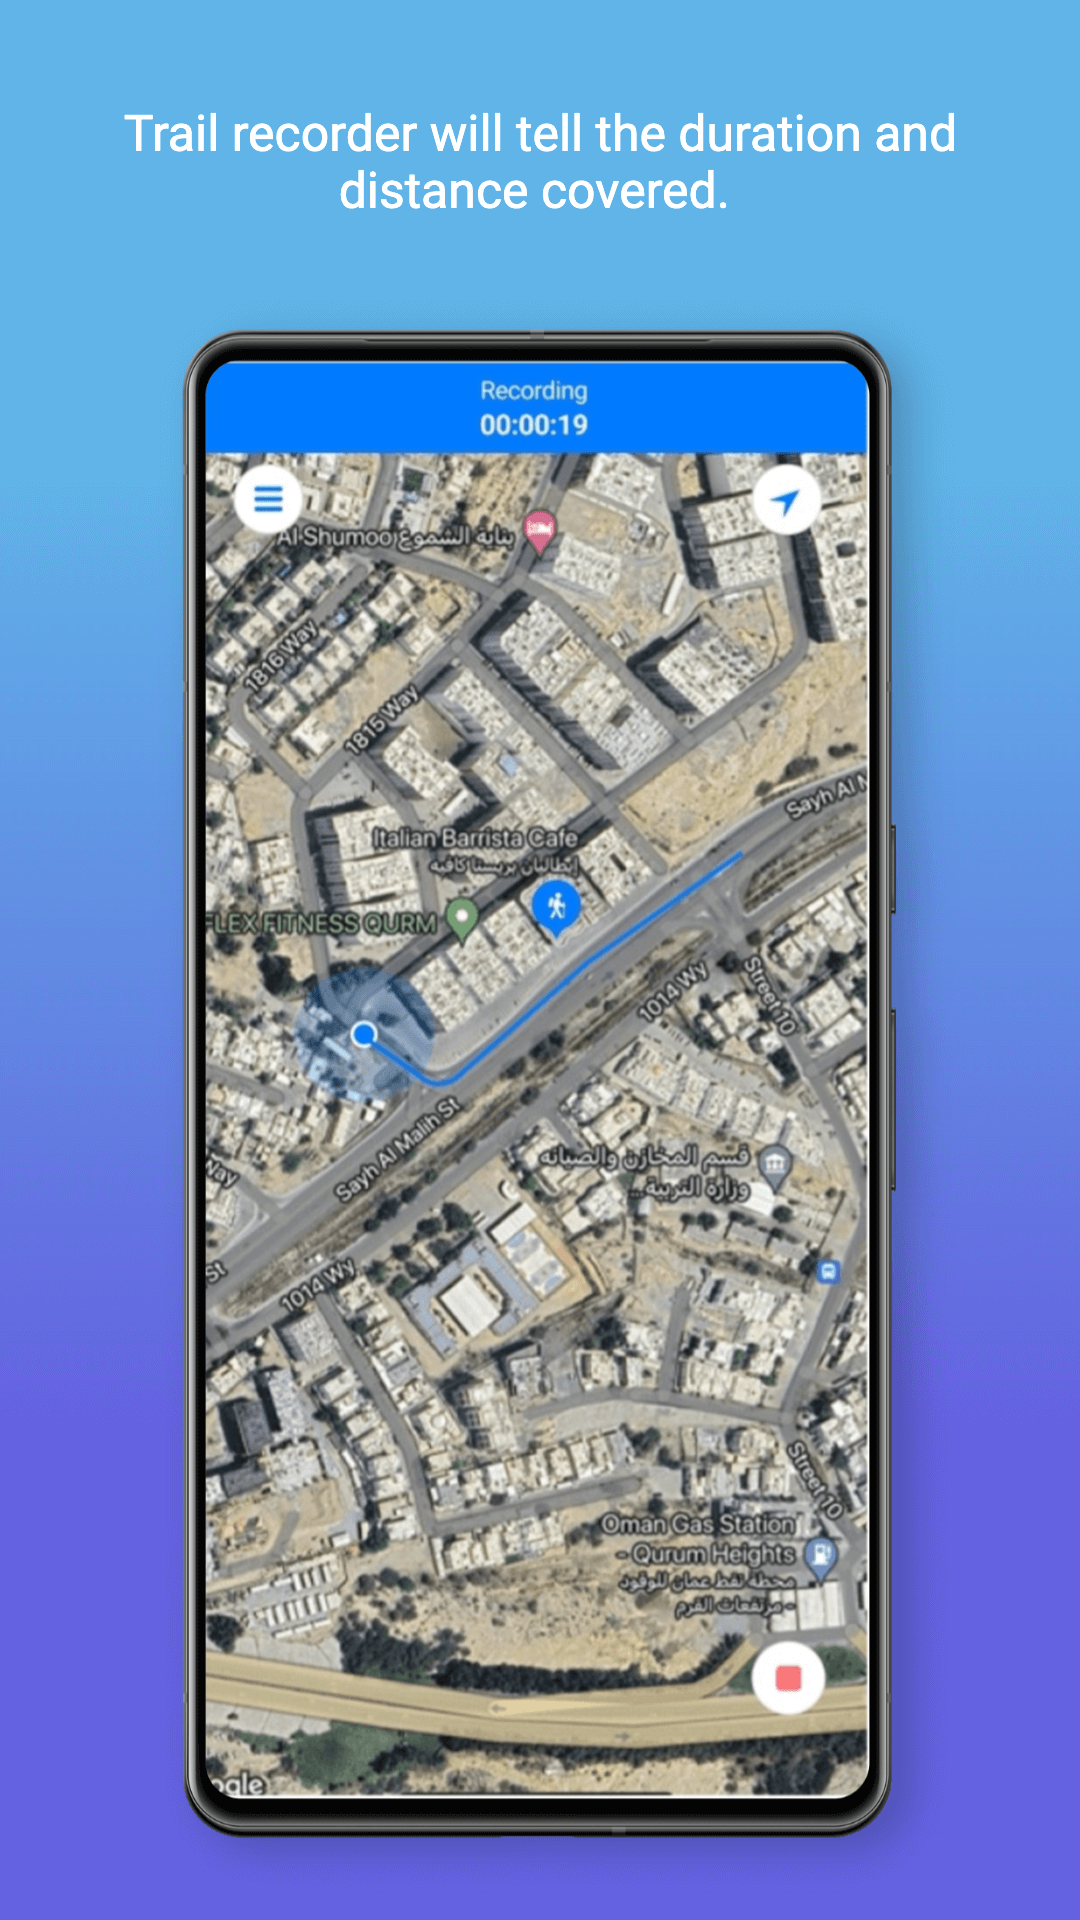
3. Trail recorder will tell the duration and distance covered.
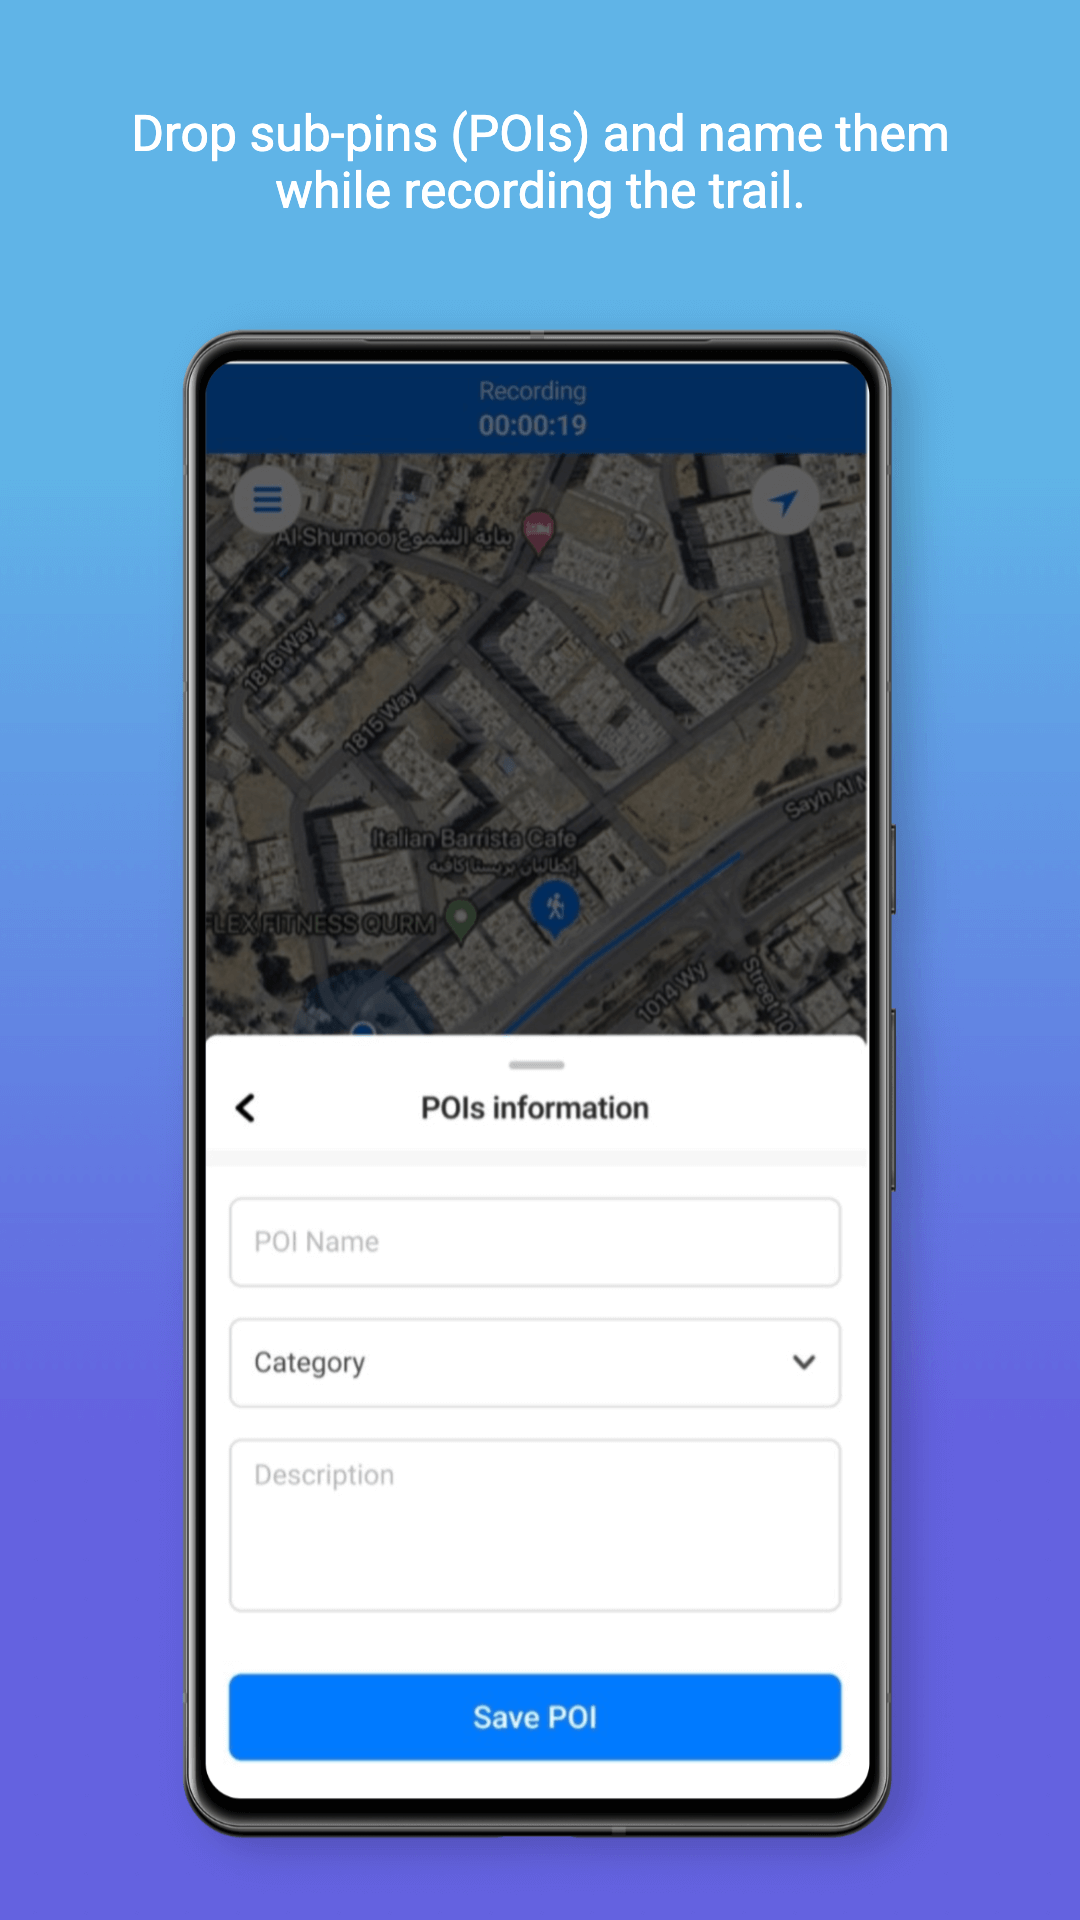
4. Drop Sub Pin and name them while recording the trail.
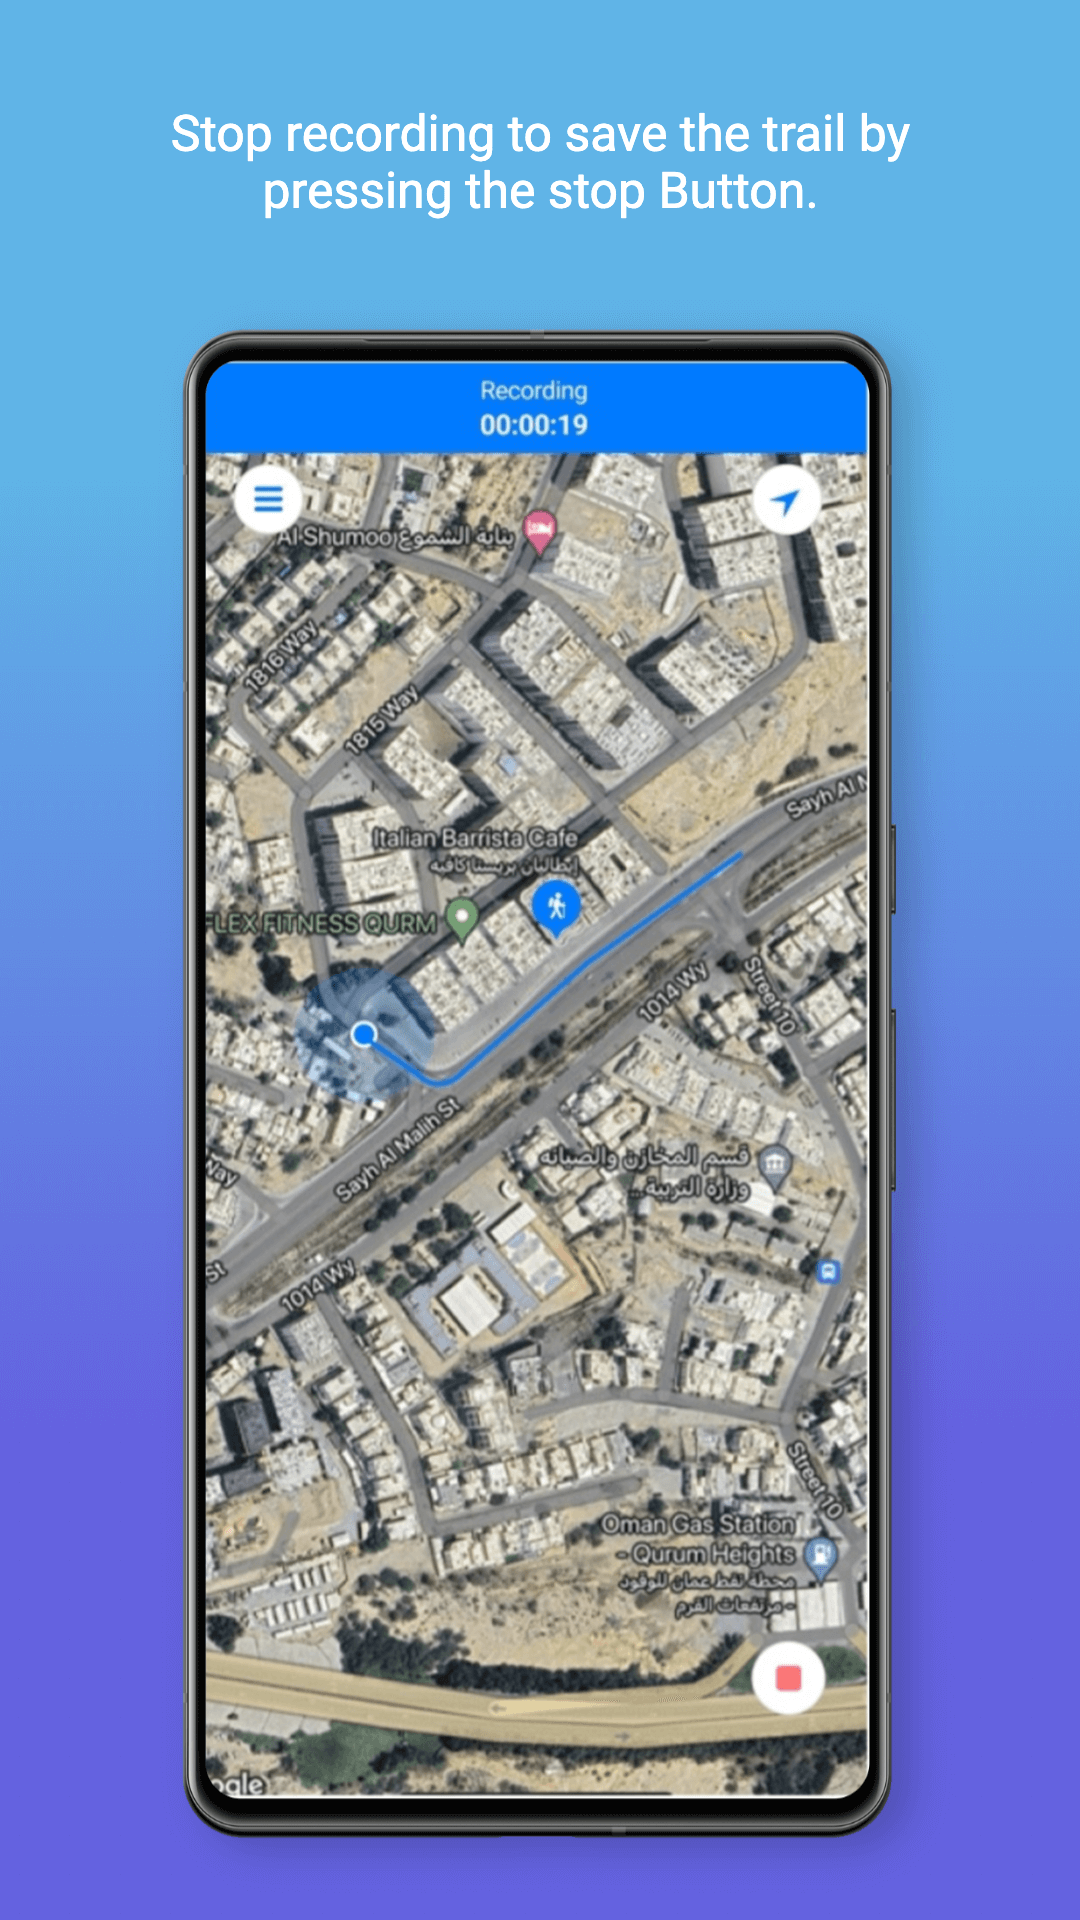
5. Stop recording to save the trail by pressing the stop Button.
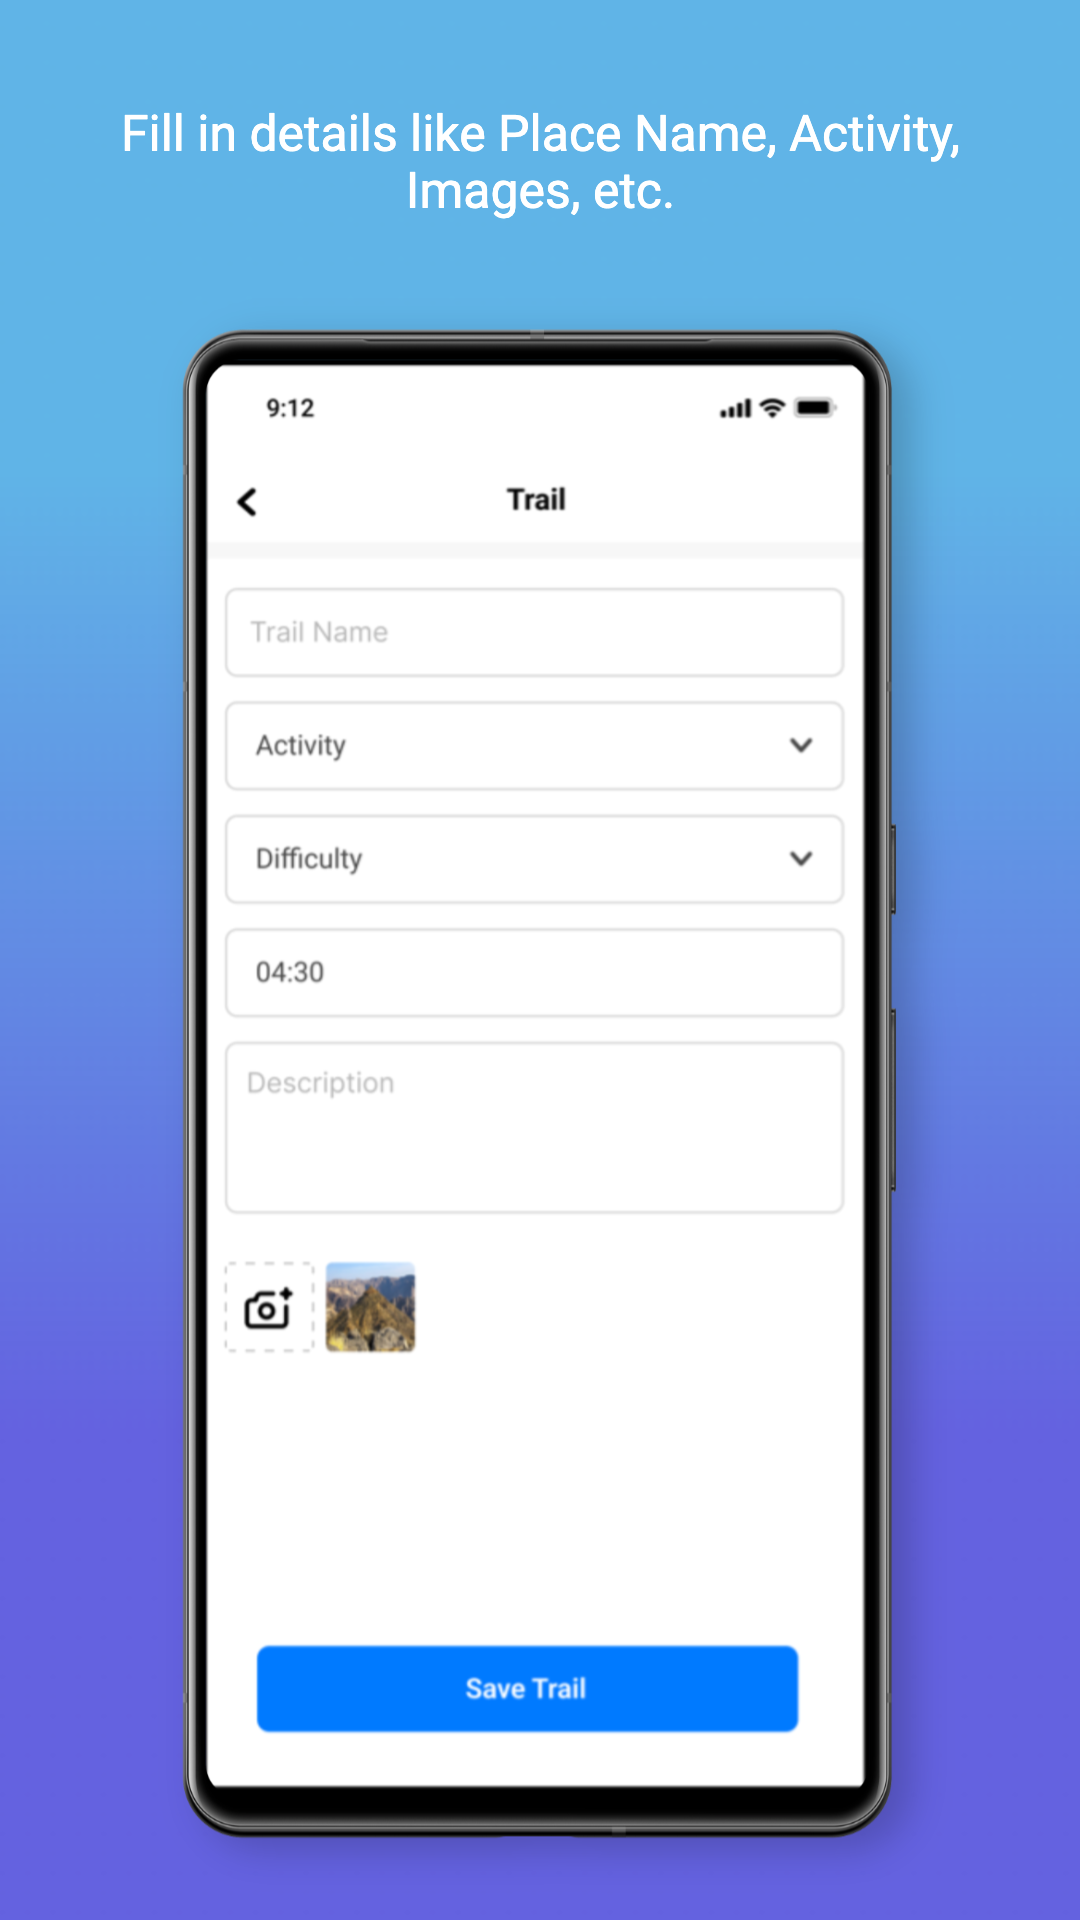
6. Fill in details like Place Name, Activity, Images, etc.
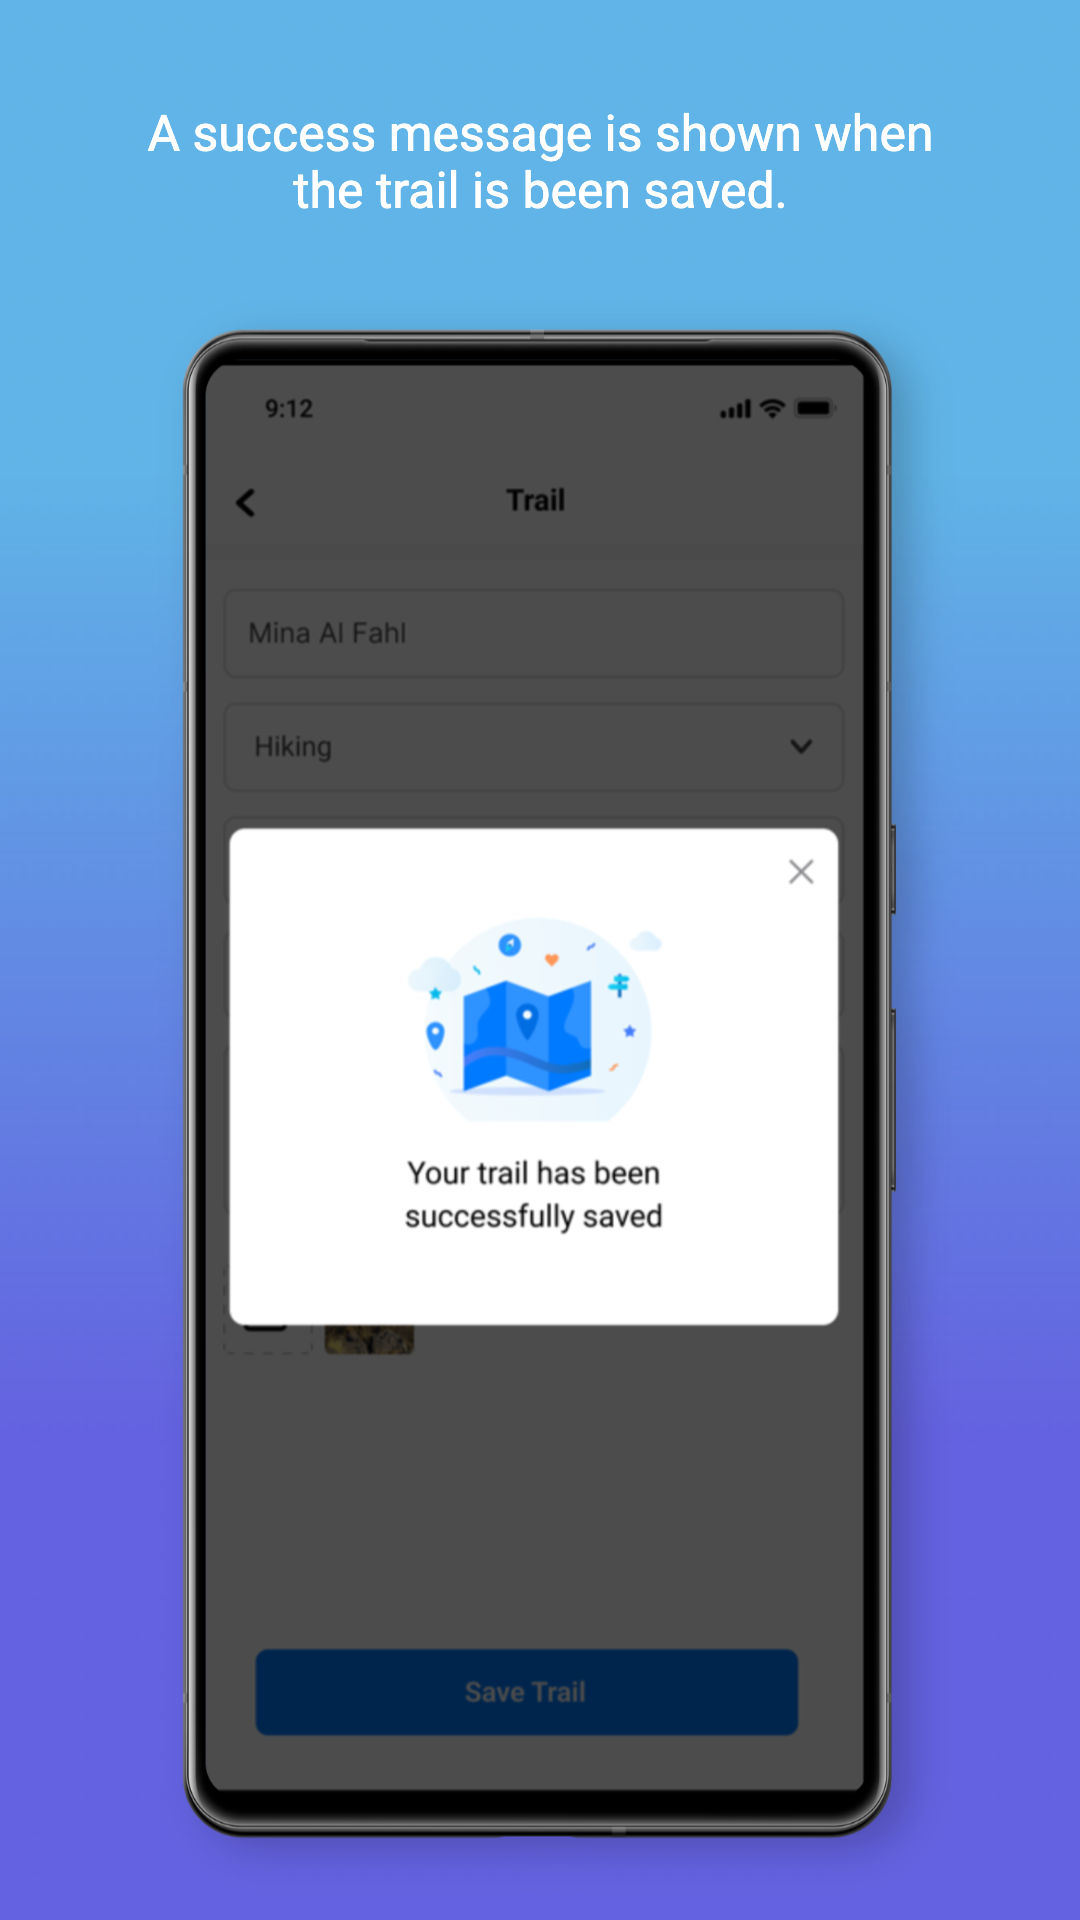
7. A success message is shown when the trail is been saved.
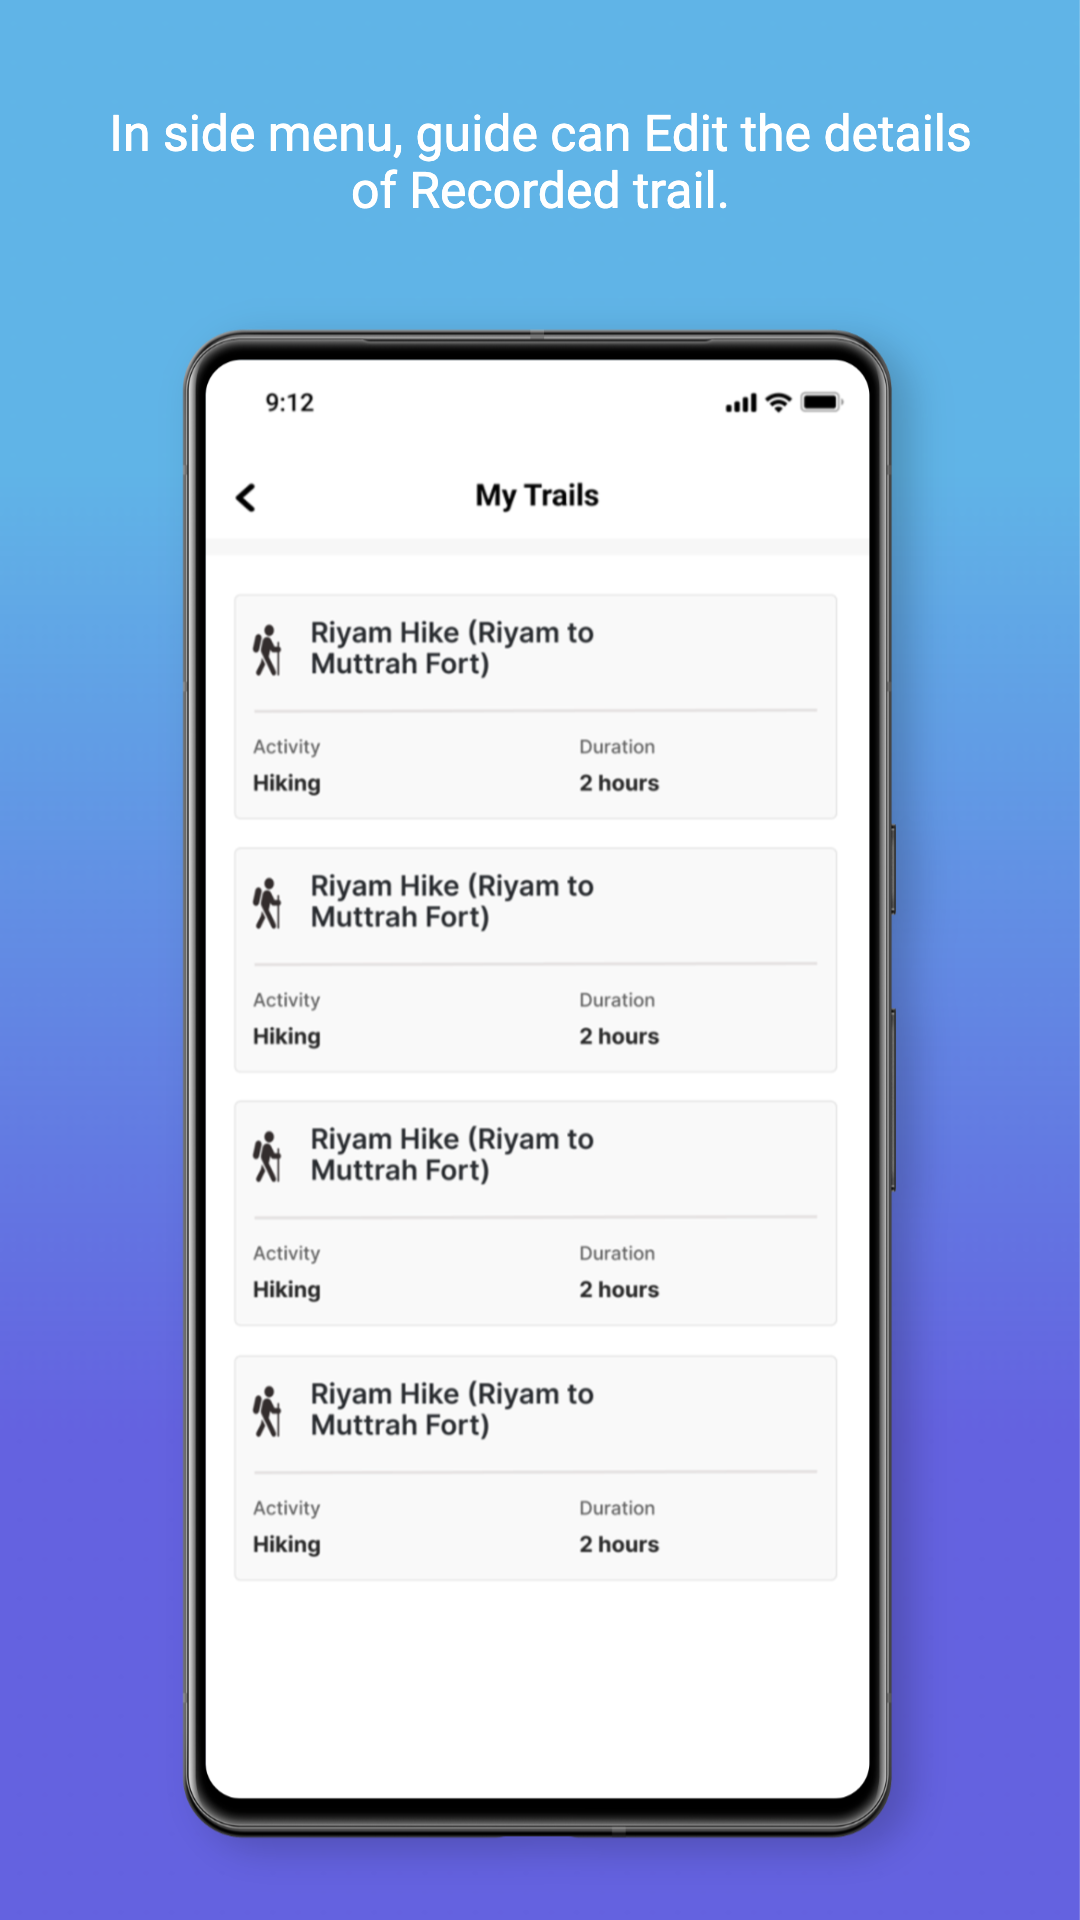
8. In side menu, guide can Edit the details of Recorded trail.
Things to Remember:
- It’s very important to stay on trail as trail recorder captures your location every 5 seconds.
- There is no option to Pause or Resume the Trail Recording.
Earning through Pinch
There are many ways in which guides can earn through the app.
- Add value to the Pin (TAP, PKG, Trails).
- Add More Pins, Earn More: Expand routes with more Sub Pins.
- Offer Packages: Create and upload tour packages on the web-based browser.
Keeping Pins ‘Active’ for ‘Better Sales’:
- Start with at least 5 Pins.
- Each PIN needs 3 TAPs and 1 package sale monthly. (Below this = inactive).
- Inactive Pins for 3 months get deleted.
- Reactivate them for OMR 10. (Repeat first 3 steps).
- Earn OMR 1.5 per Package (CAP) & 75% of package sales.
- Maximize Pins by creating multiple routes!
Please Note:
- To receive earnings, you must open a Thawani account and register telephone number.
- TAP (Tip-a-Pin) is a fee of RO 3.
- Package has a percentage on the package.
How to Engage Users?
There are Five ways to engage users to achieve monthly target:
- Social Share: Promote your packages on Instagram & other platforms. Users can find you in our search by entering your handle.
- Content is King: Pick or create eye-catching Pins and media to grab attention.
- Multiple Routes: One destination, many journeys! Design different routes leading to the same Pin, catering to diverse preferences.
- Location Spotlight: Highlight the unique perks of a specific area, attracting users interested in that region.
Media Upload Pro Tips:
- Use a tripod for sharper shots, especially in low light.
- Think about your foreground.
- Plan your hikes around sunrise or sunset for that magical "hour" of warm light.
- Avoid the "bullseye." When framing a shot, deliberately throw objects off the center.
- Do not include anything hazardous or dangerous unless under supervision.
Need a Helping Hand?
- If your photos need a little extra polish, our freelance support team is here to help! Just reach out to us, and we'll get you there. Email us at [email protected]


